— Project Info
| Role | Product Designer |
| Duration | 2 Months |
| Tools | Procreate, Photoshop, Figma, FigJam, Sketchbook, Workshop Machinery, Hand Tools |
| Skills | Material Research · Millinery · Model Making · Electronics Prototyping · Product Design · UX/UI Design · Wireframing & Prototyping · Design Systems · Circular Systems · Branding |
Challenge
Learn a pre-industrial craft from my own heritage by producing a traditional piece from scratch, then carry that craft into something entirely modern, redesigning an everyday electronic product around it.
Solution
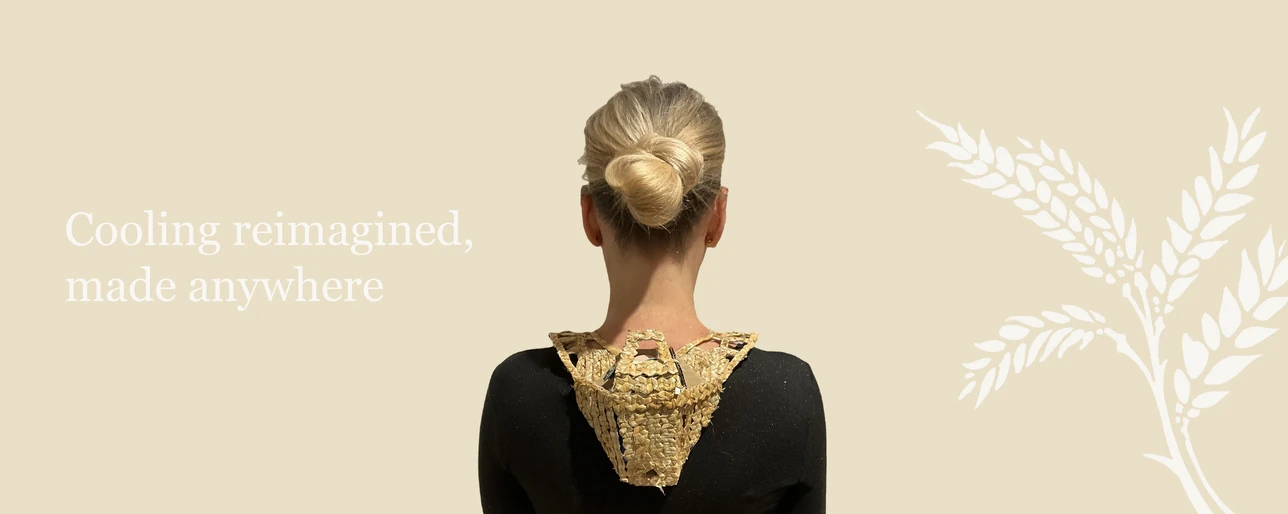
Inspired by a family photograph of my great great grandfather in a boater hat, I researched the history of straw plaiting and worked through material trials to make the hat from scratch. A hat cools by shade, a fan cools by air — so that same plait became the structure of Ventra, a wearable cooling fan housing salvaged electronics in a plaited straw shell. The design is open, so anyone can build one anywhere in the world from whatever grows nearby.

Digital Product Passport
Made to track my product from sourcing to disposal — a record the EU is making mandatory.
Go to DPP UX section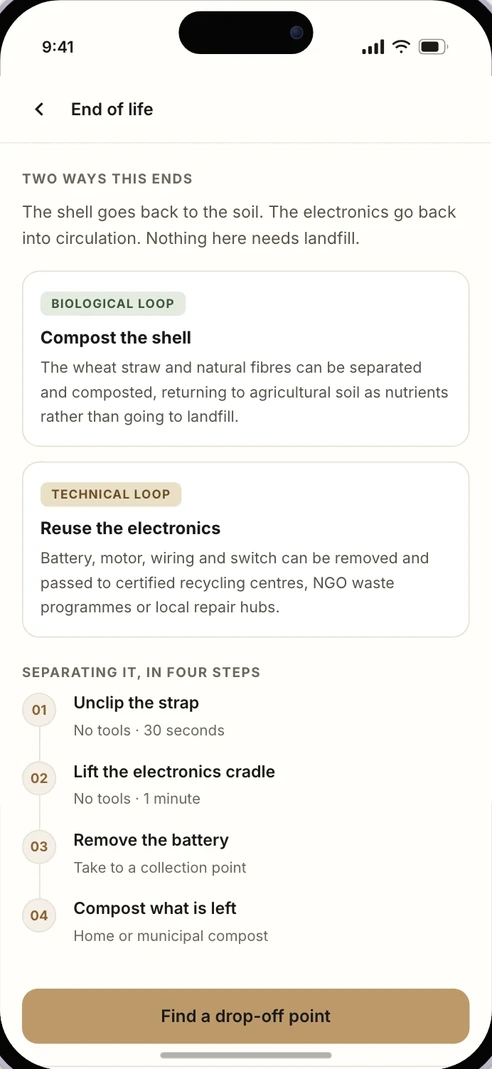
— Process
plaiting traditions
Material Research
Skills
in the straw
another means
Take
one direction
to object
Ventra
can make, anywhere
Systems
Passport
tells its story
01 — Heritage & Material Research
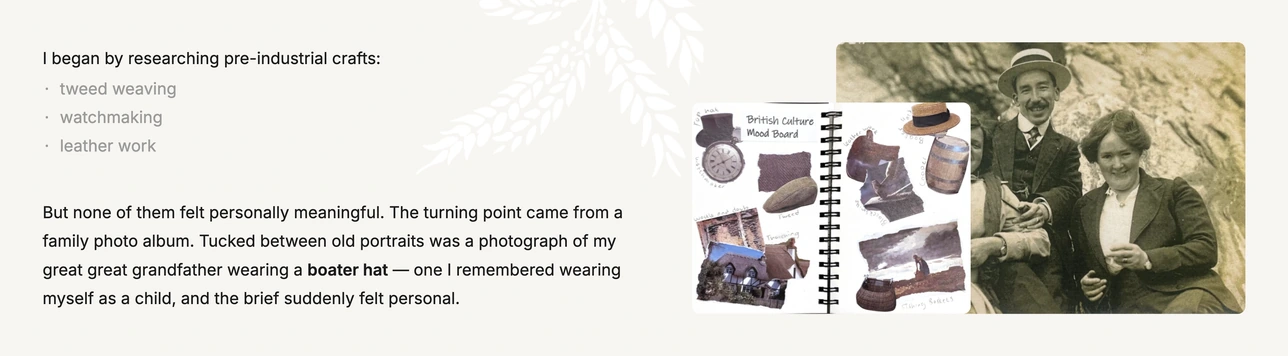
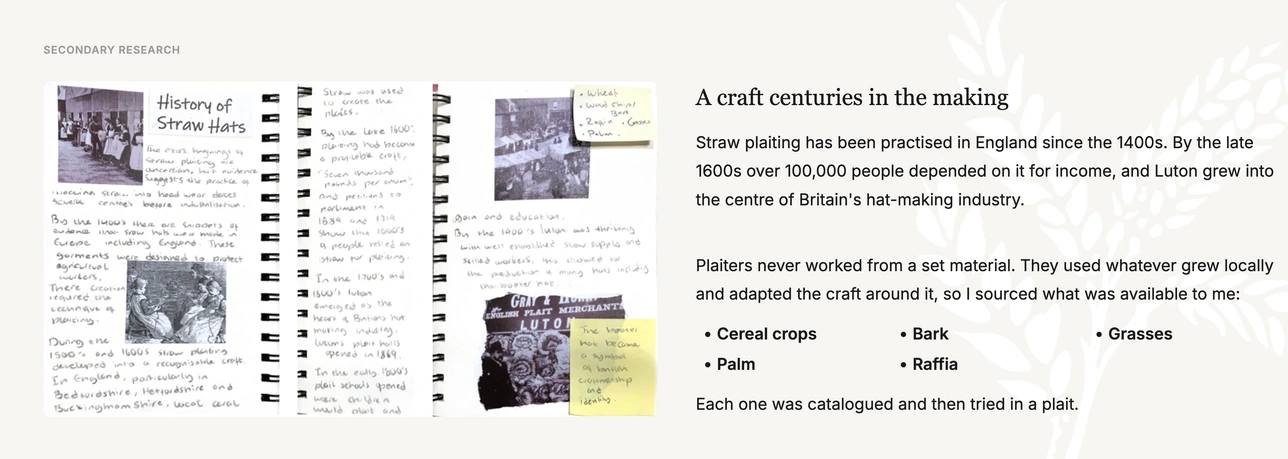
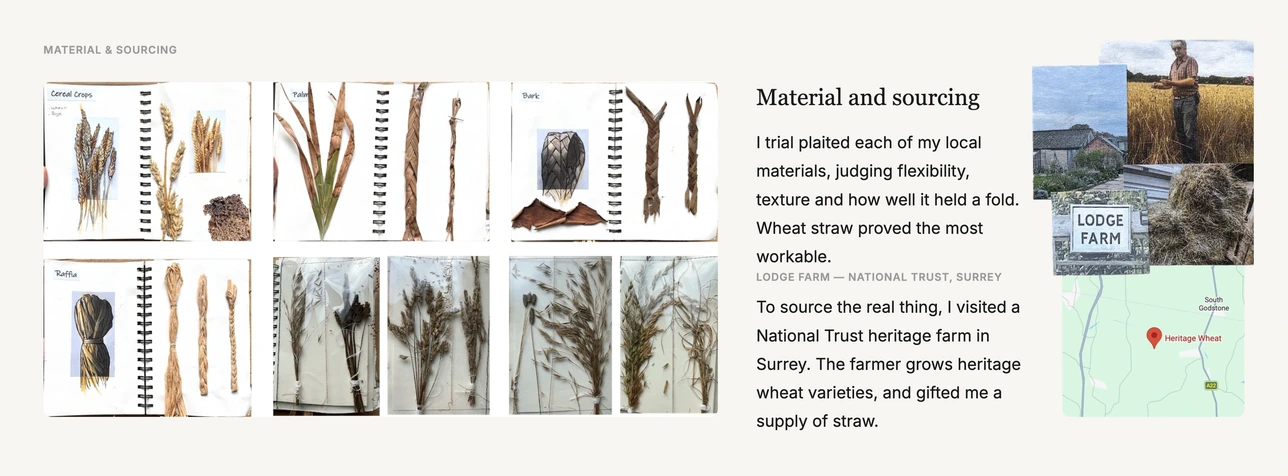
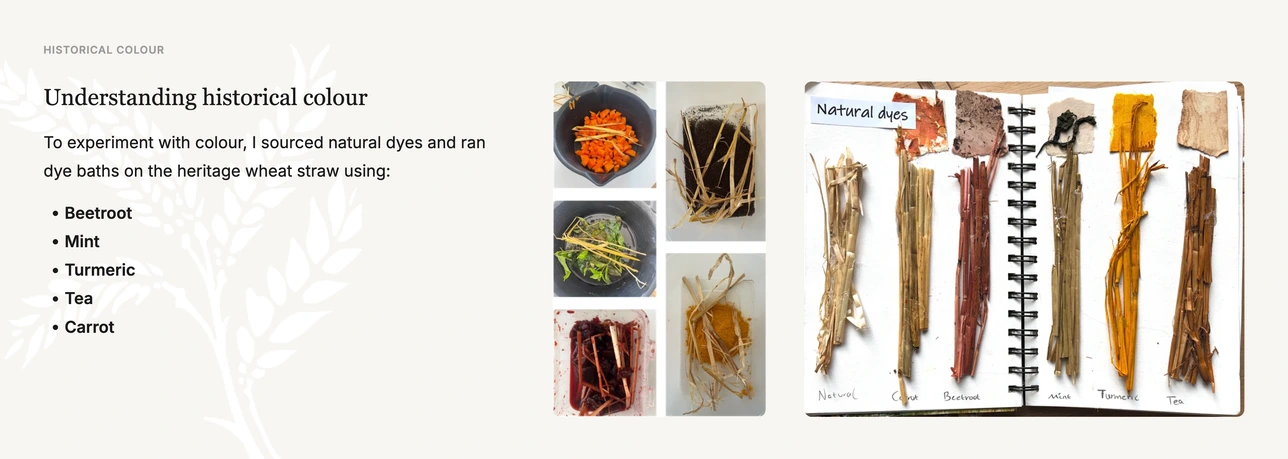
Finding the craft in the family album
The brief: become an expert in a pre-industrial craft from your own cultural heritage.
02 — Traditional Skills
Hands in the straw
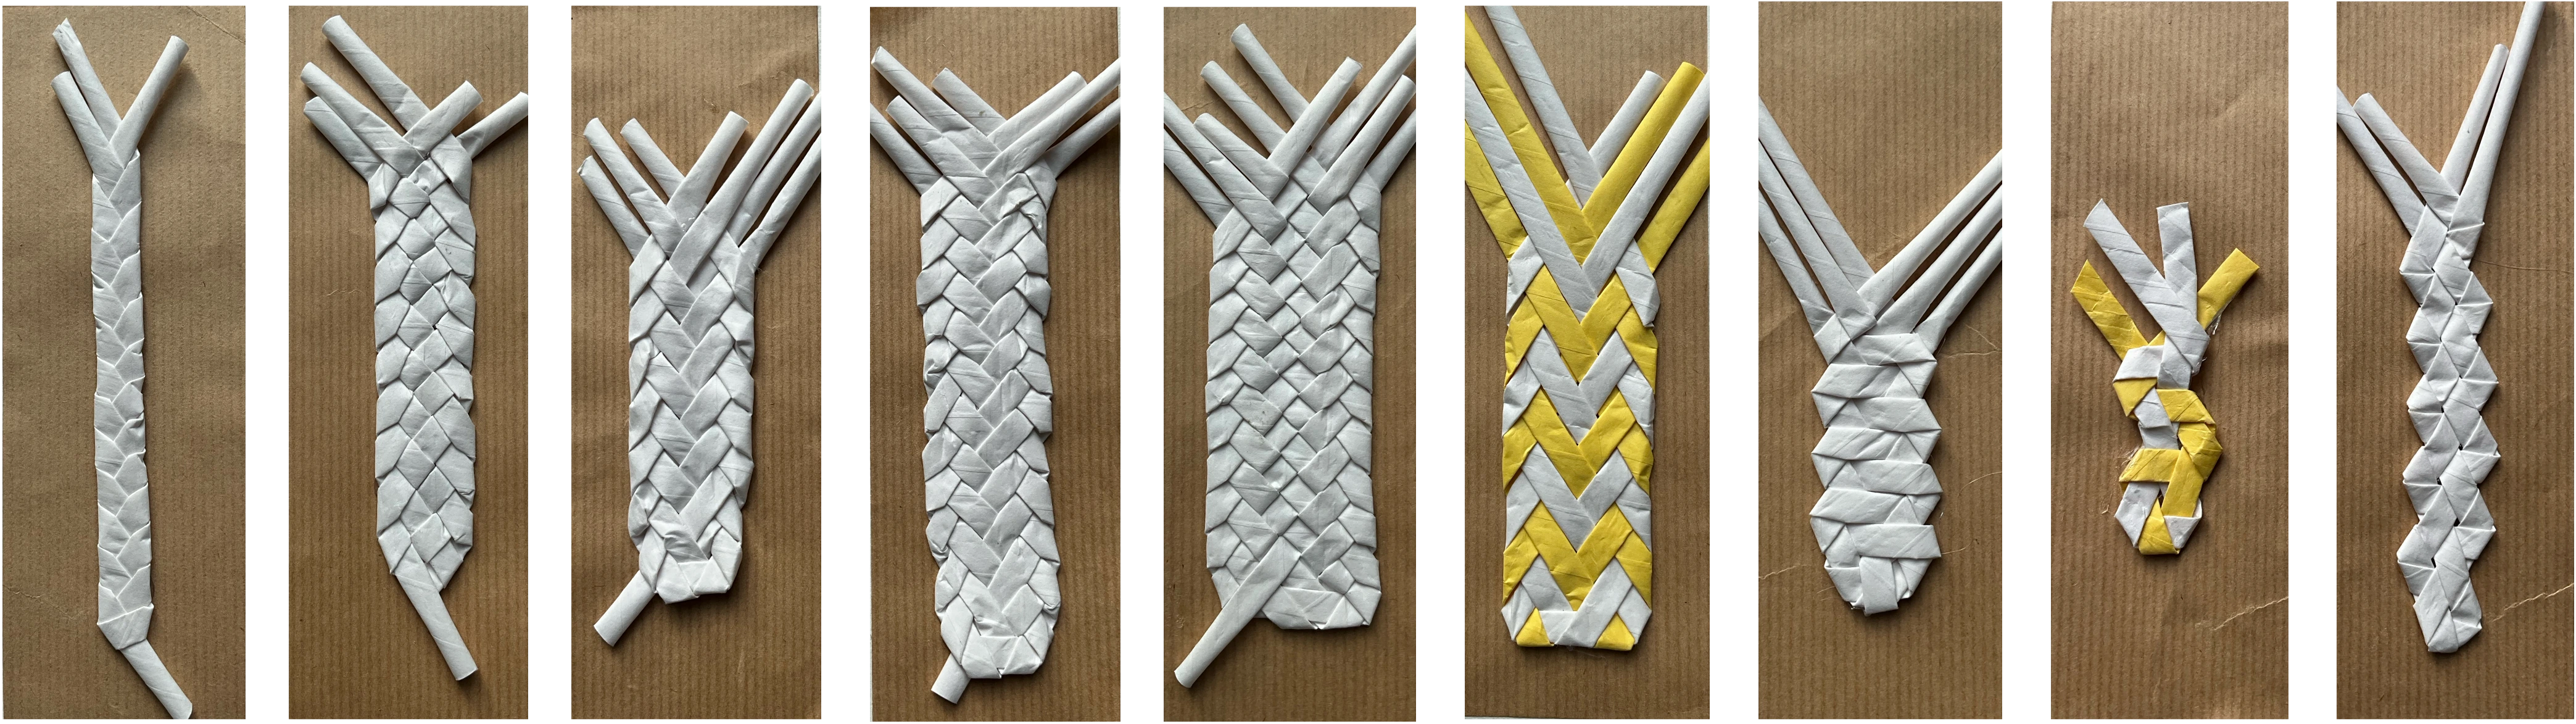
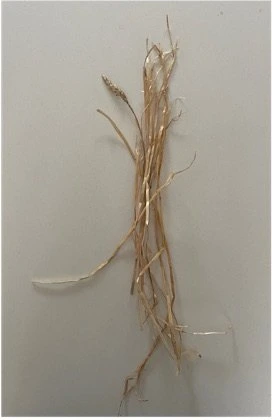
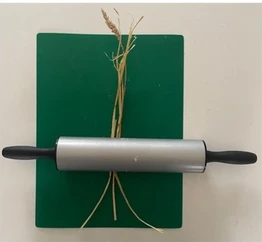
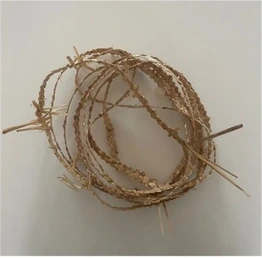
With the material settled, I moved on to technique. I worked in paper straws to prototype a range of traditional British plaits quickly, testing each for structure and appearance. The rustic 4 plait proved best suited to a boater, and from there I researched the full making process.
Making Process
Wooden Hat Block
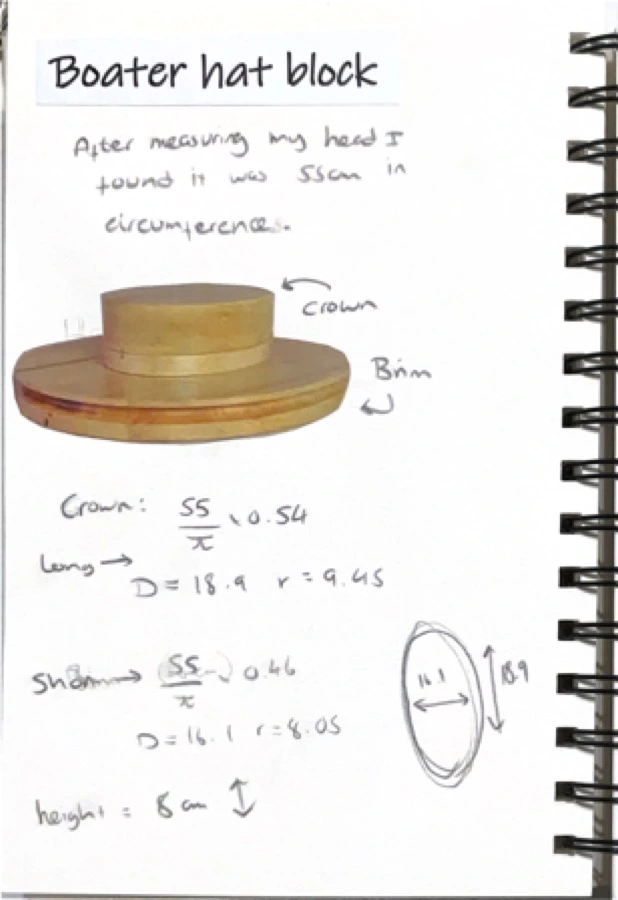
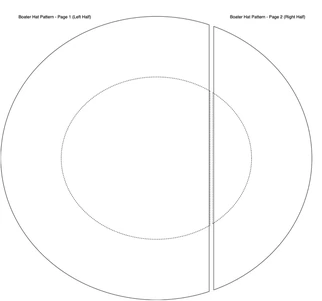
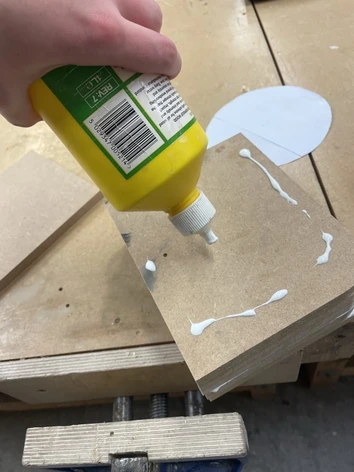
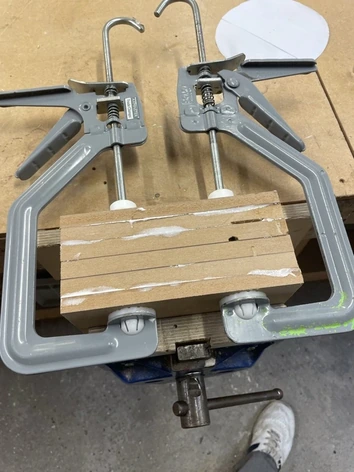
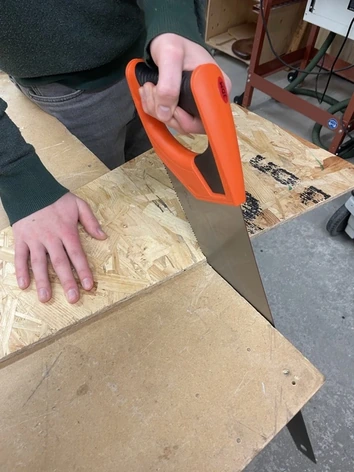
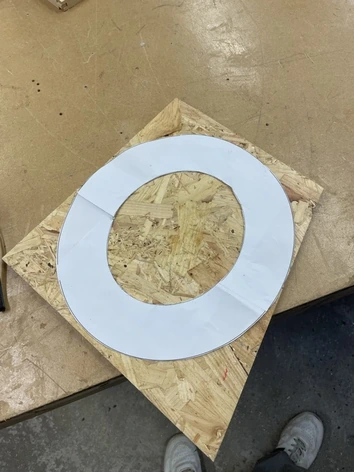
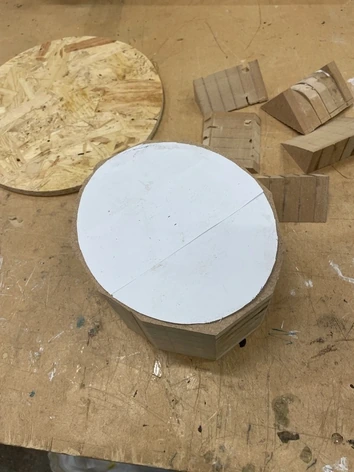
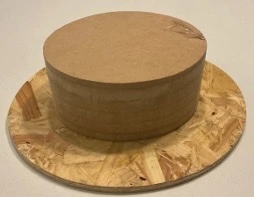
I measured my head, drew the pattern, then shaped the plywood block.
Making the Hat
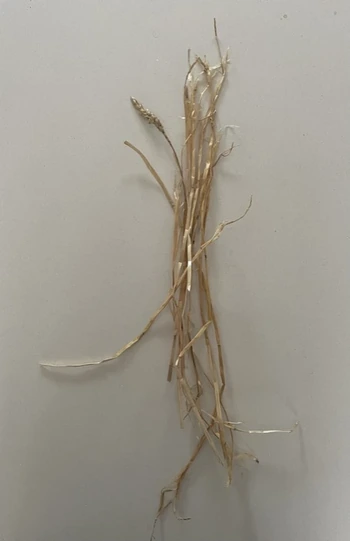
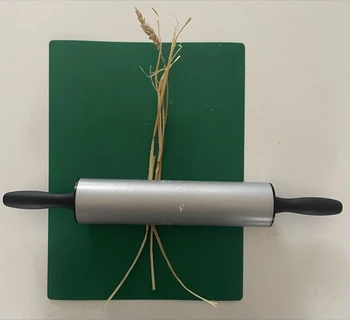
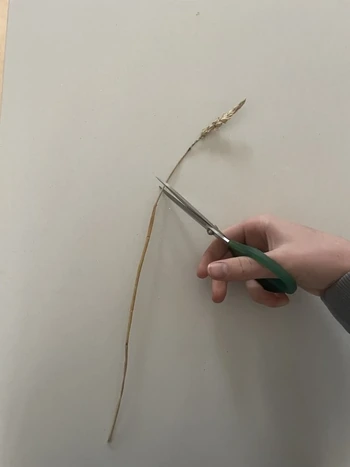
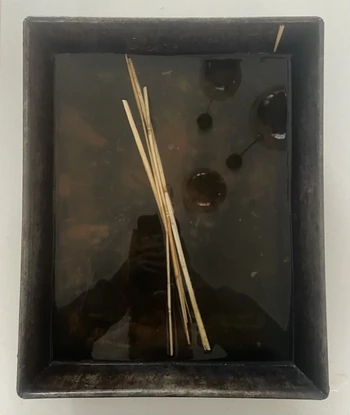
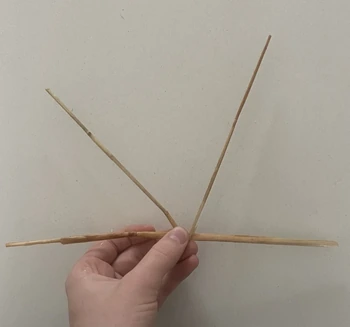
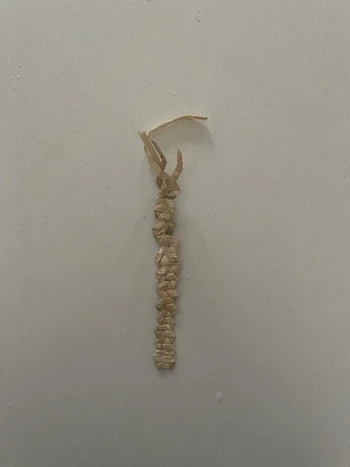
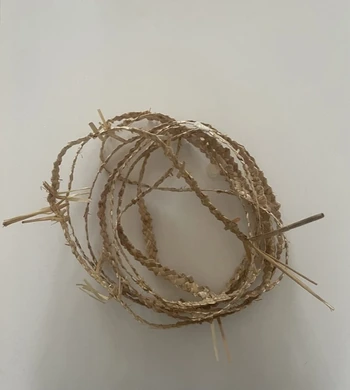
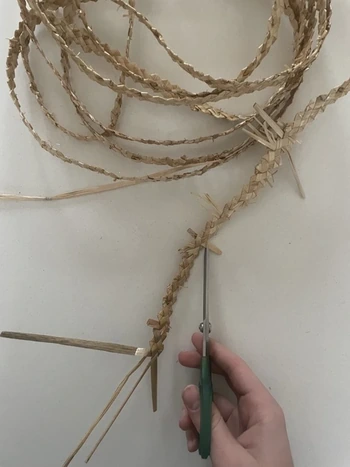
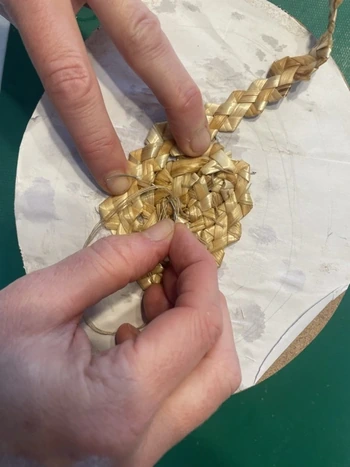
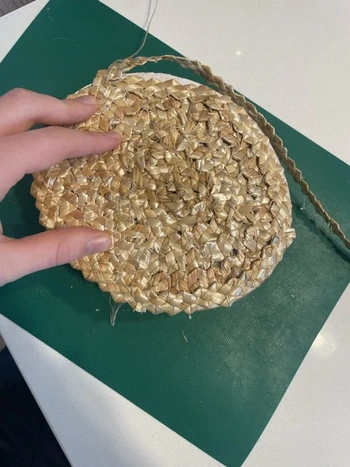
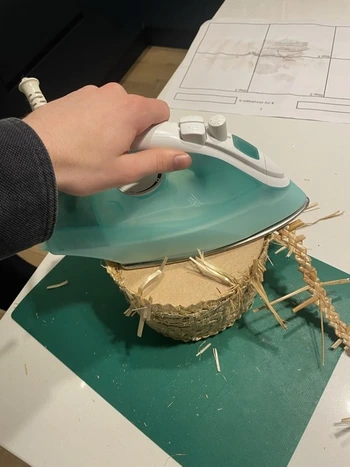
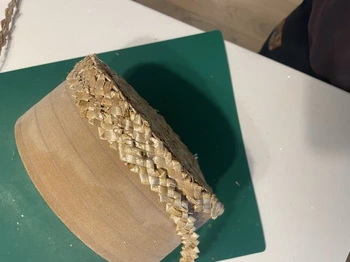
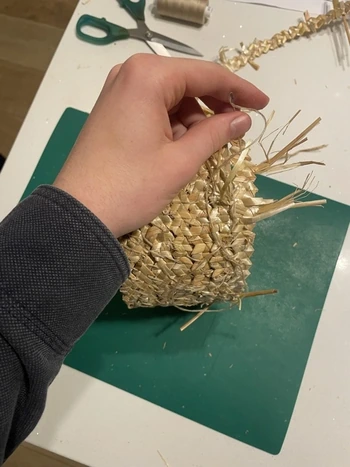
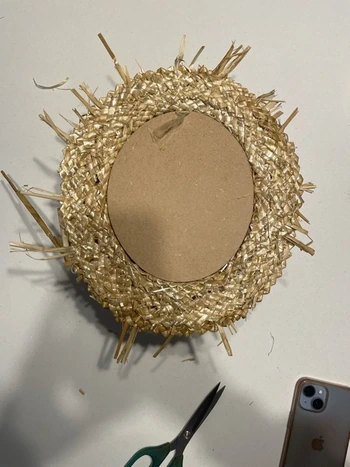
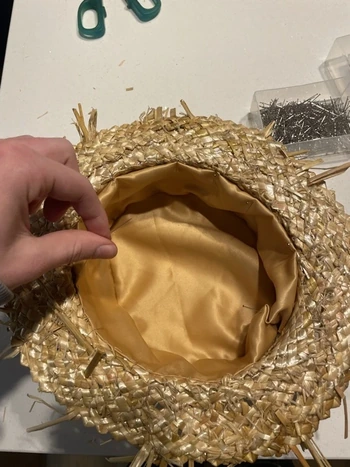
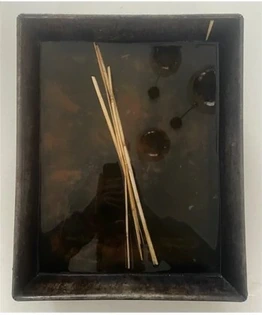
I followed the process I had researched: making the plait, winding it from the crown and blocking it under steam.
The Finished Hat
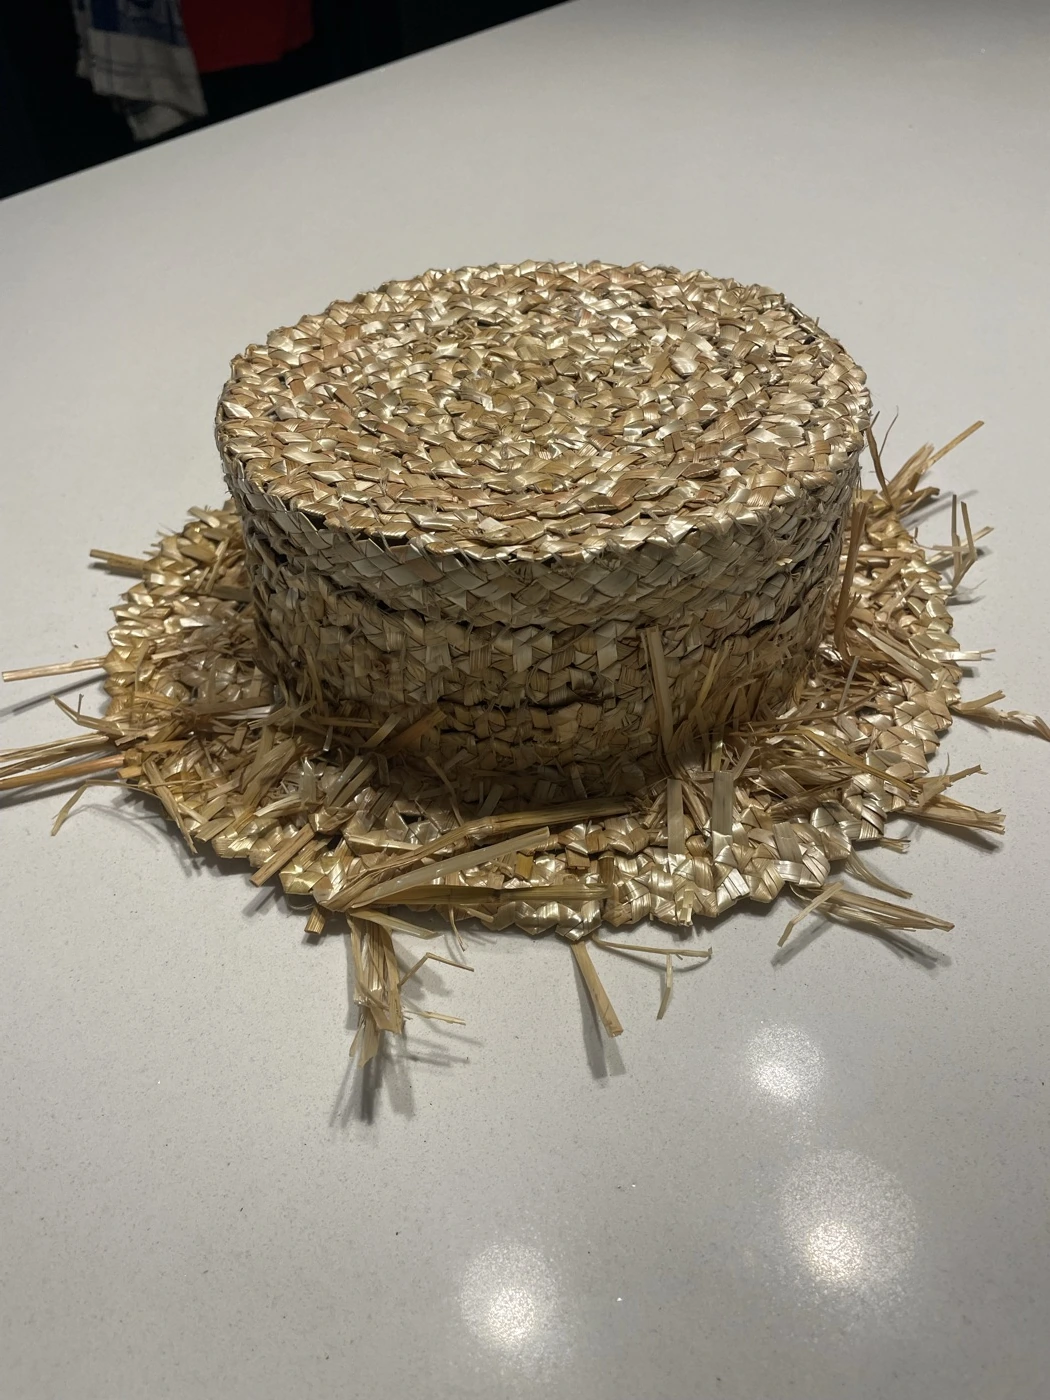
The finished boater, made from heritage wheat straw using centuries-old plaiting techniques.
03 — The Modern Take
Cooling by another means
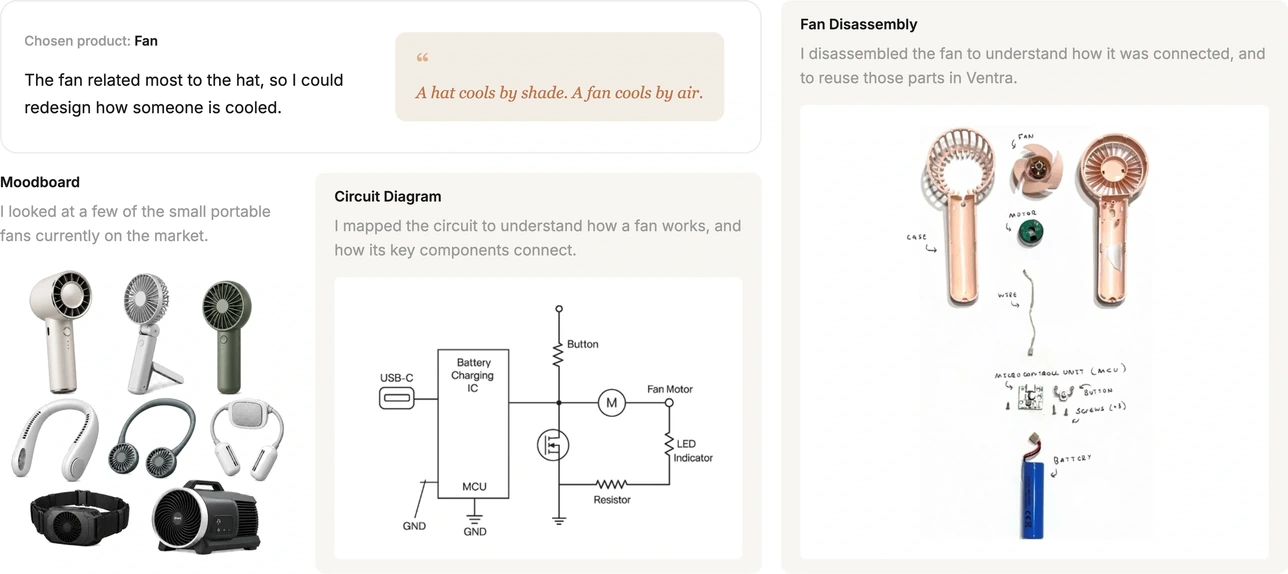
The brief, part two: Reimagine an everyday electrical product using the craft we had each chosen. Only two rules: it had to perform the same function, and be made from nothing but that craft and salvaged materials. The options were a rice cooker, kettle, hairdryer, torch or fan.
04 — Ideation
100 ideas, one direction
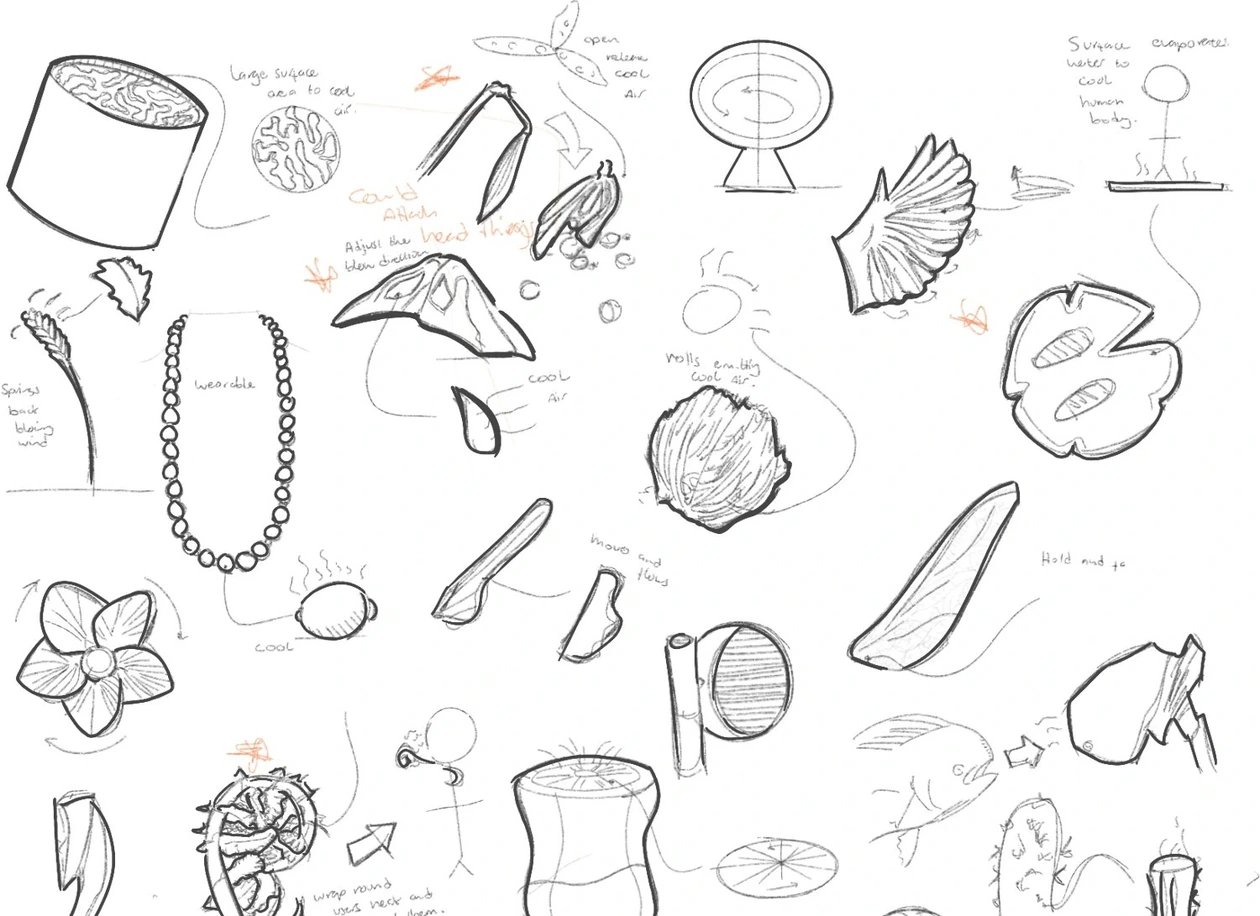
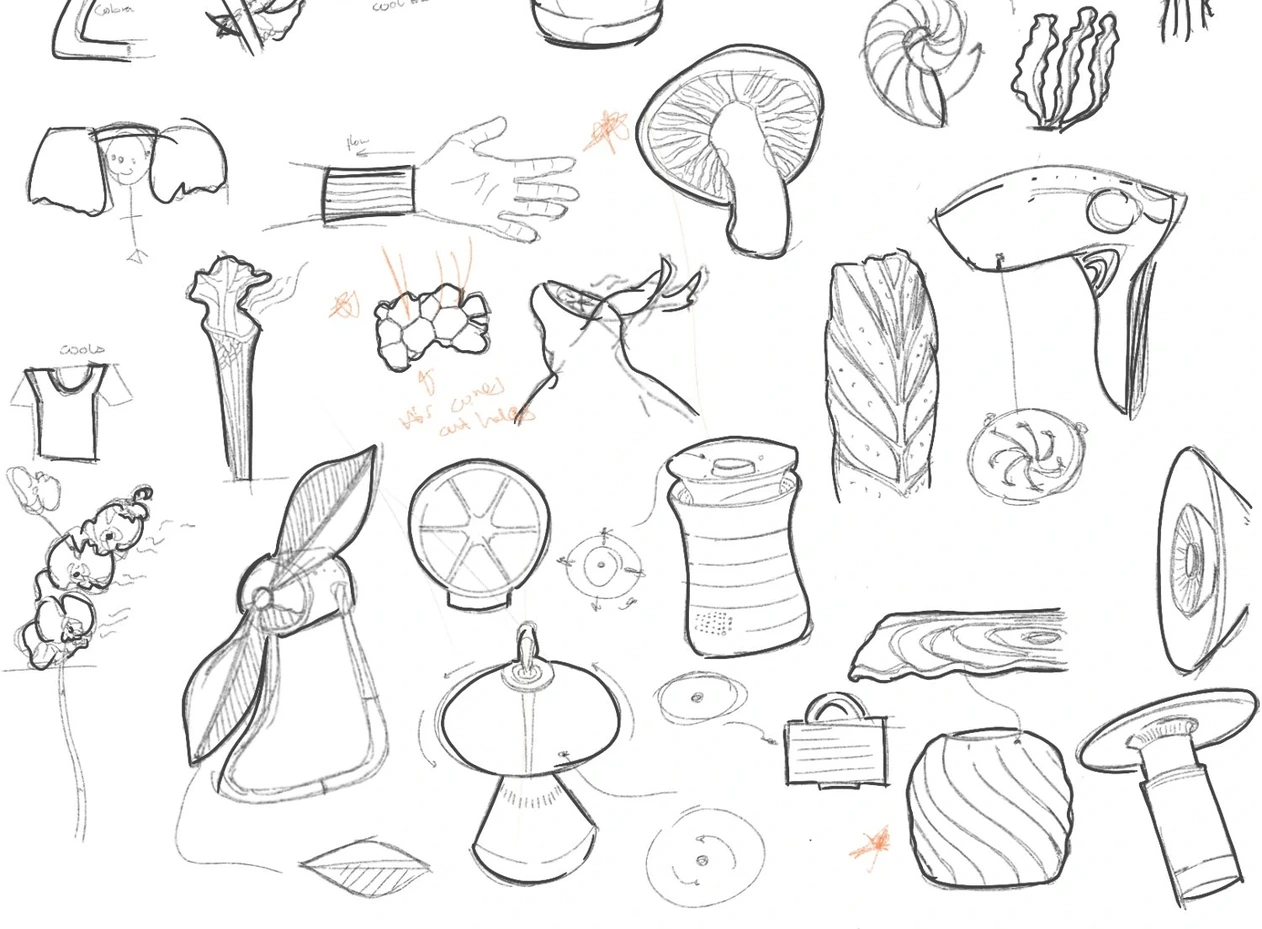
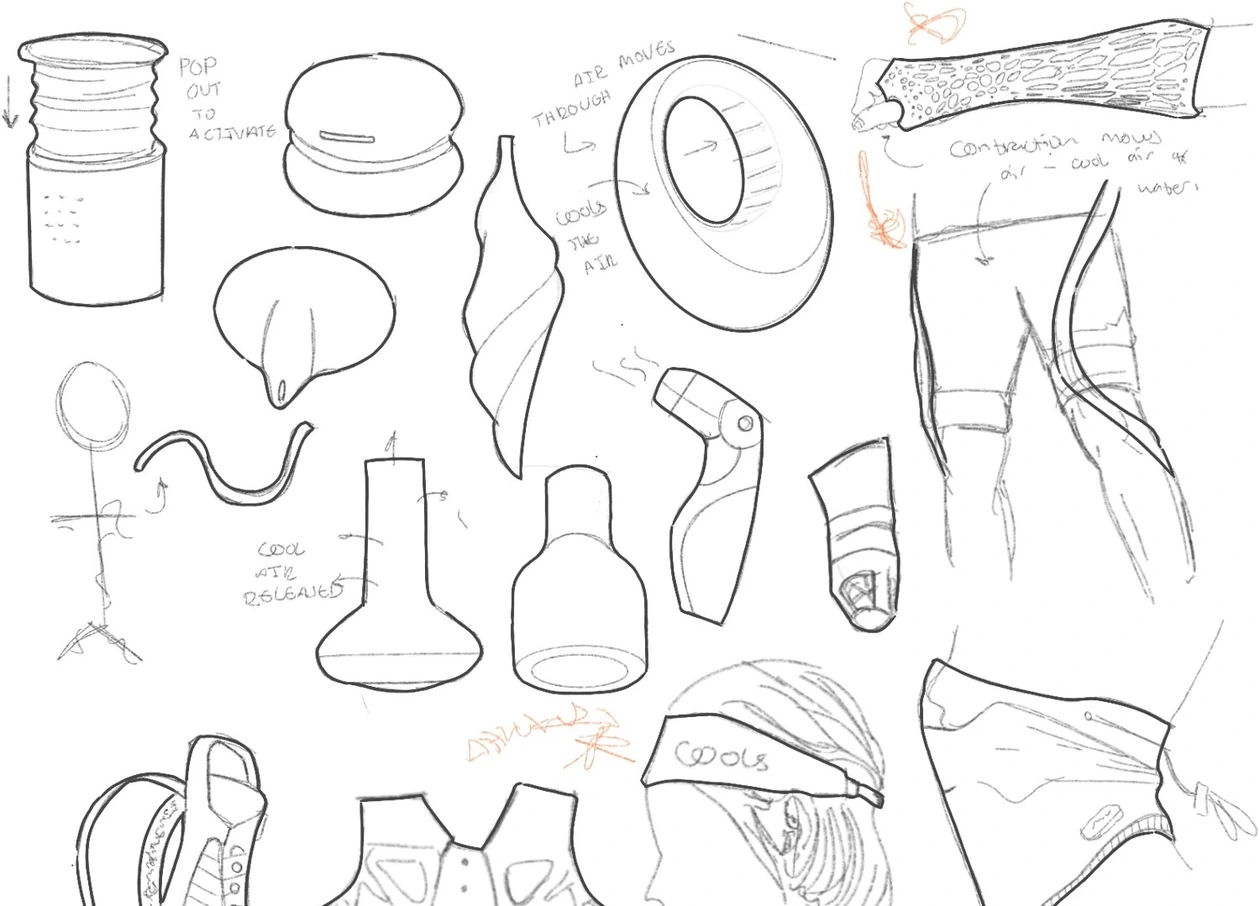
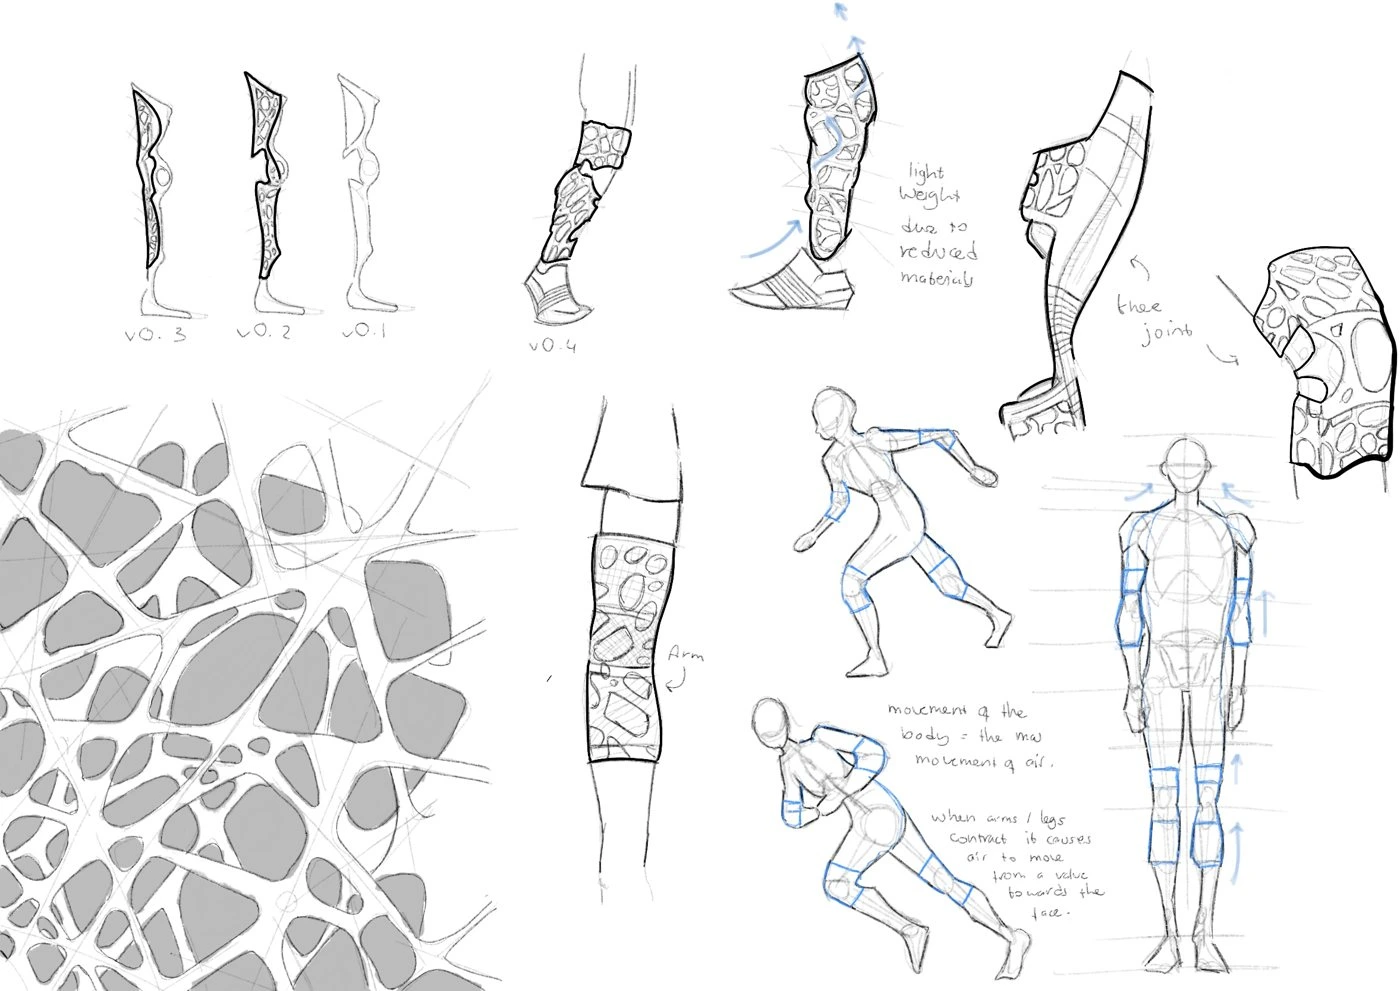
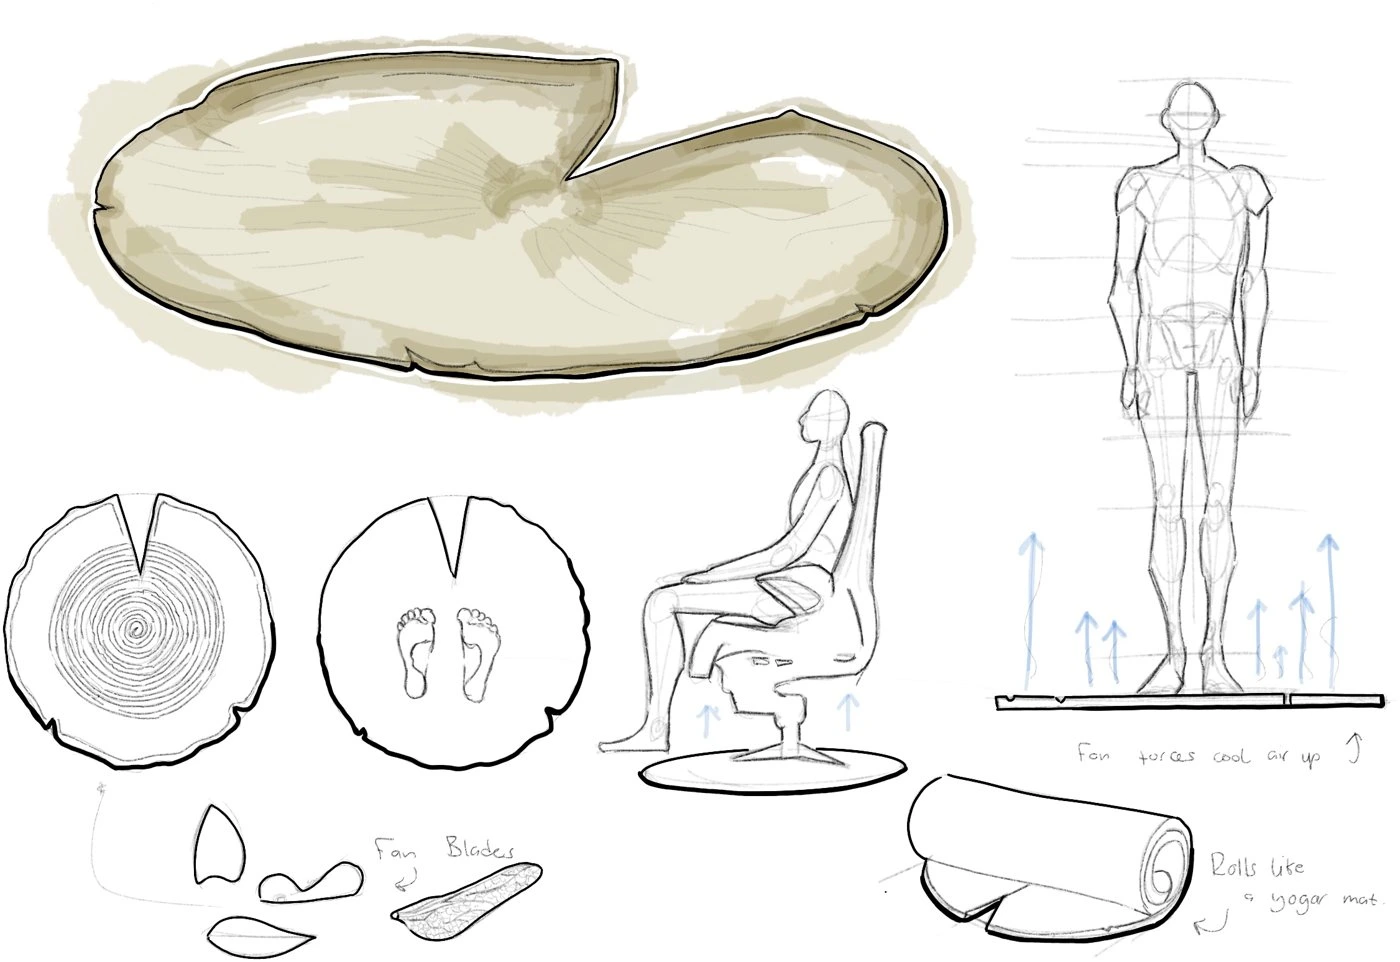
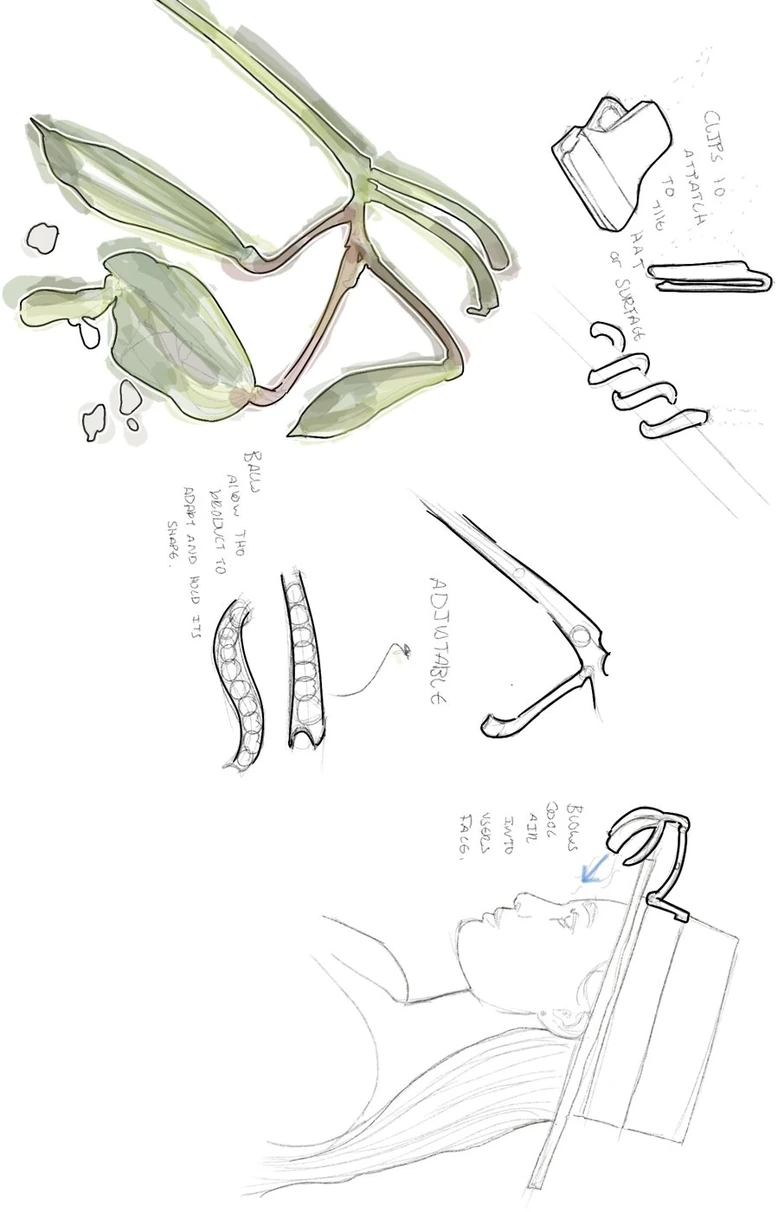
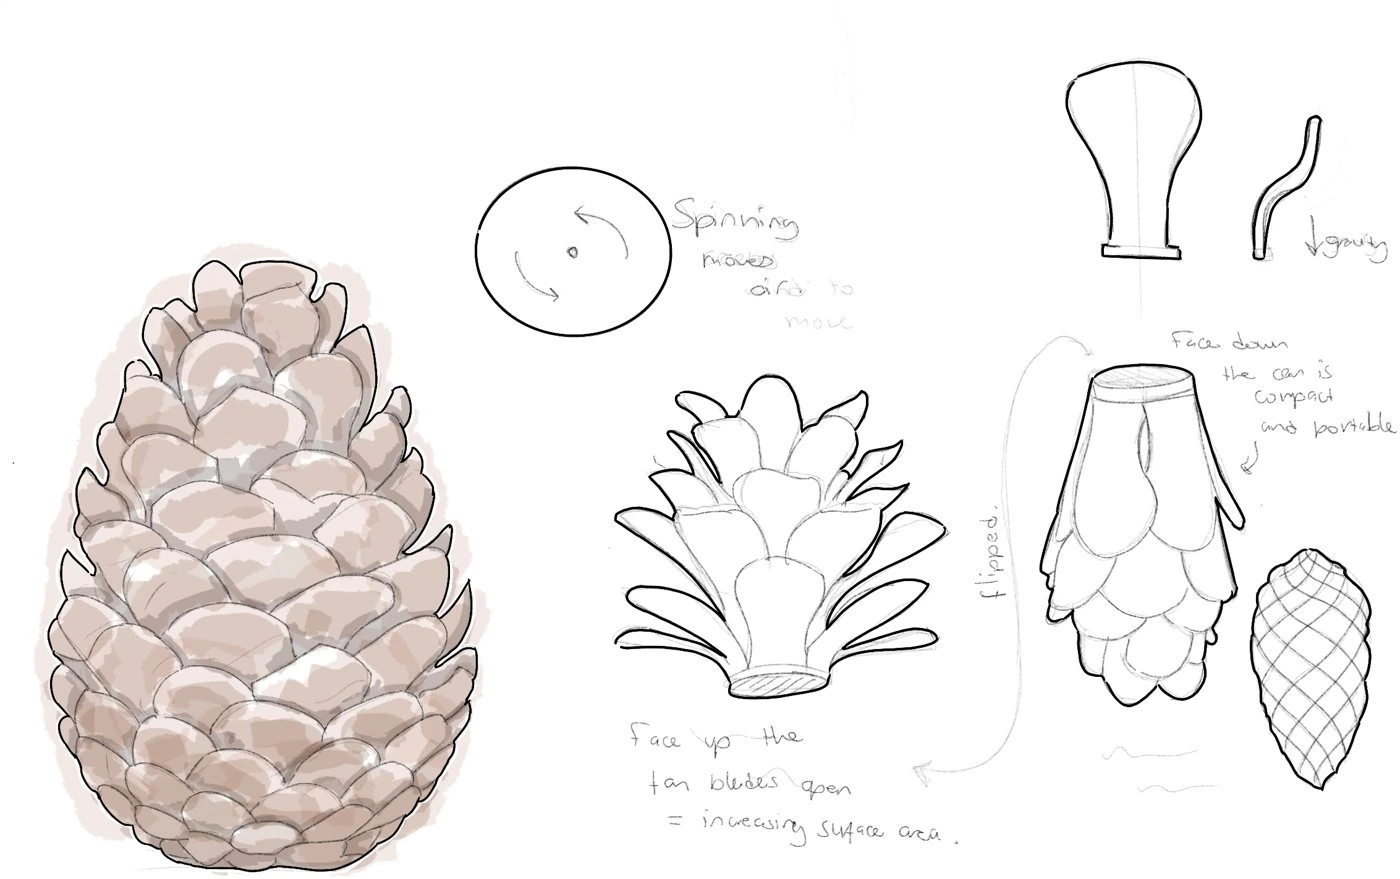
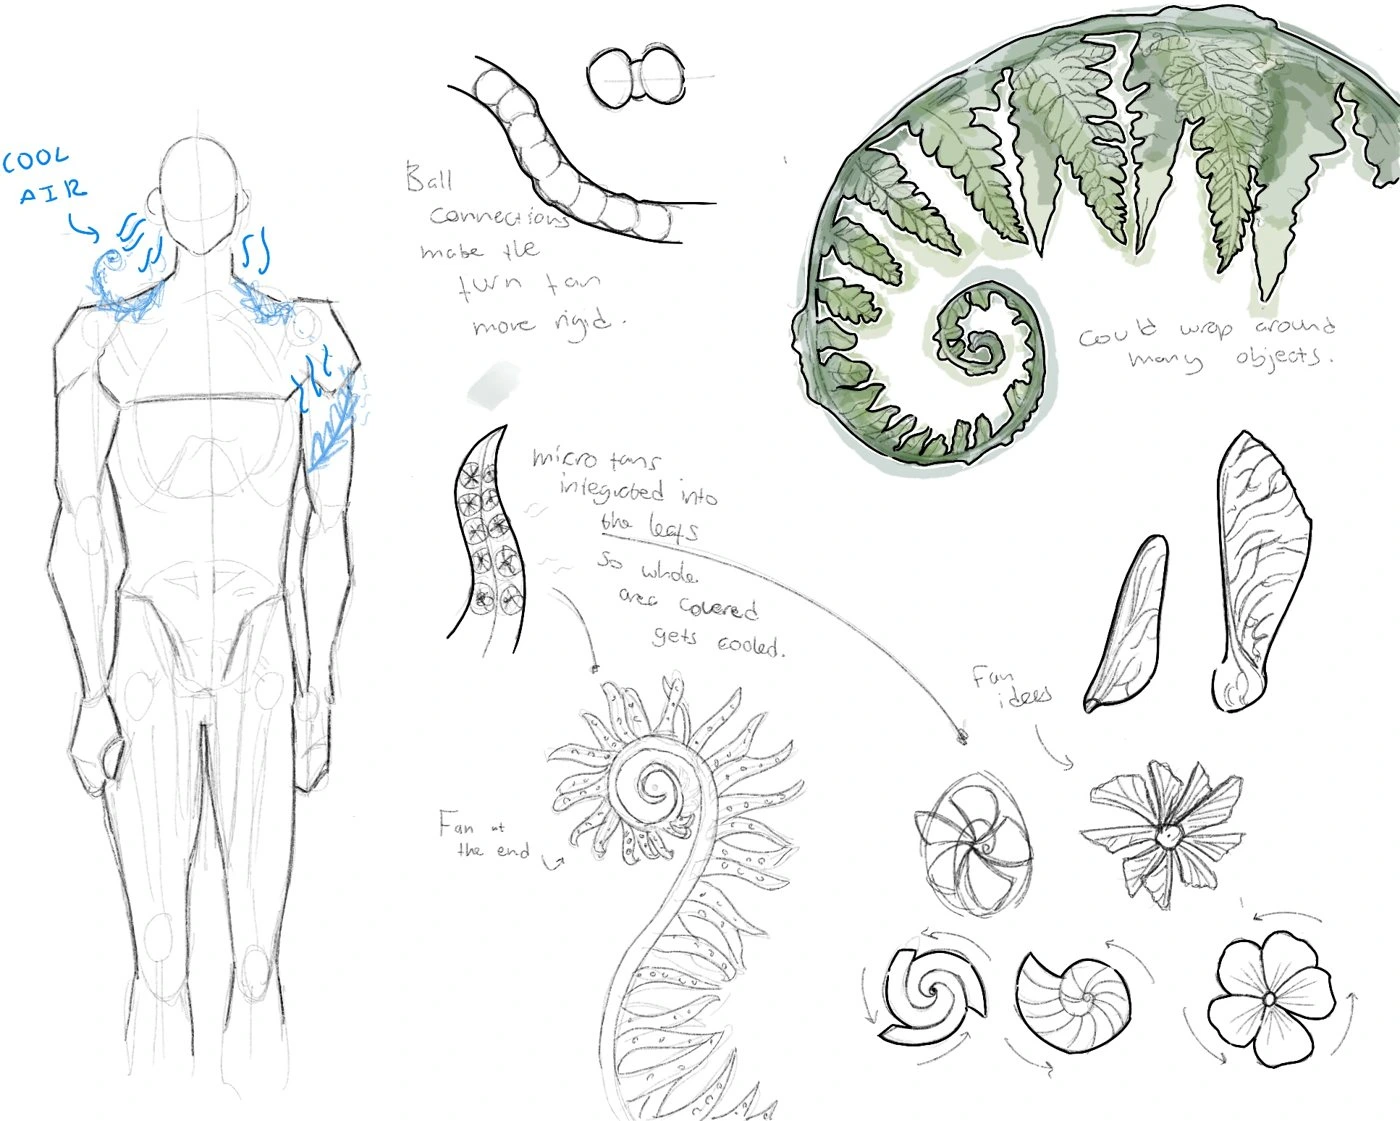
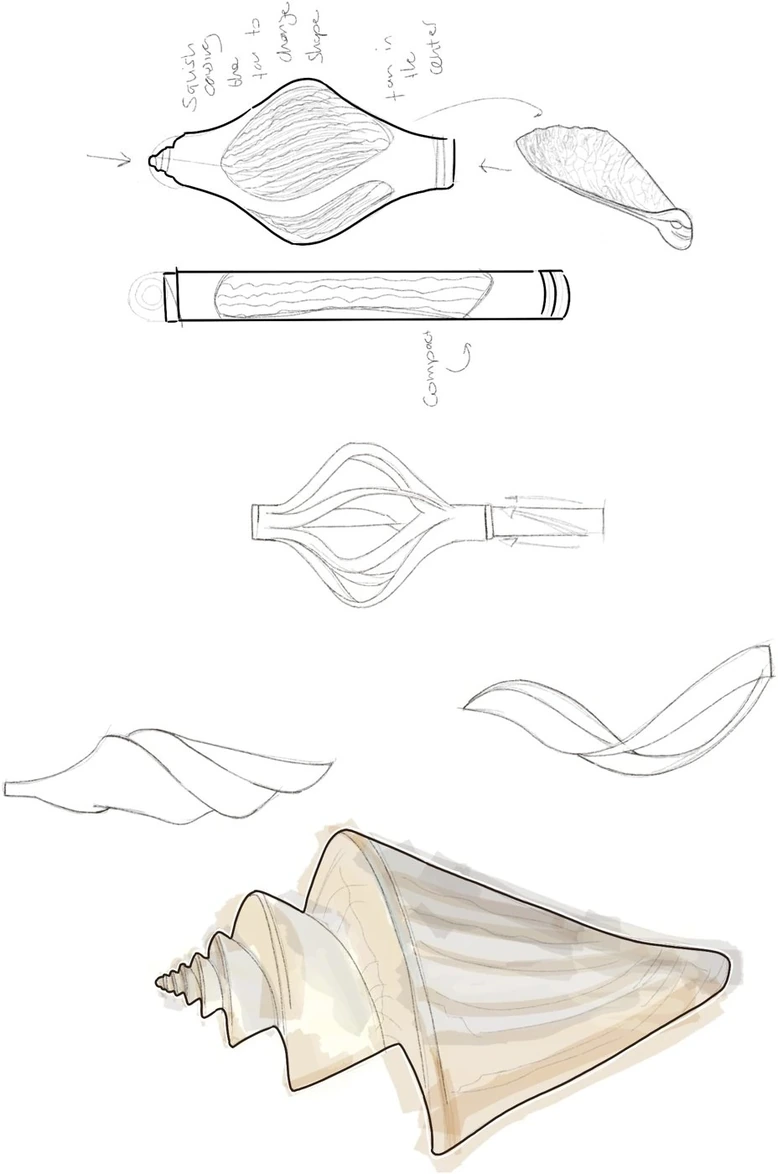
I blurted down 100 designs, mainly inspired by biomimicry and my moodboard, exploring a wide range of possibilities across:
- Ergonomics
- Interaction
- Visual language
- Function
All based on cooling, using the plaiting techniques I had learnt and the components of the fan.
Initial Sketches
Developed Sketches
05 — Development
Development and user testing
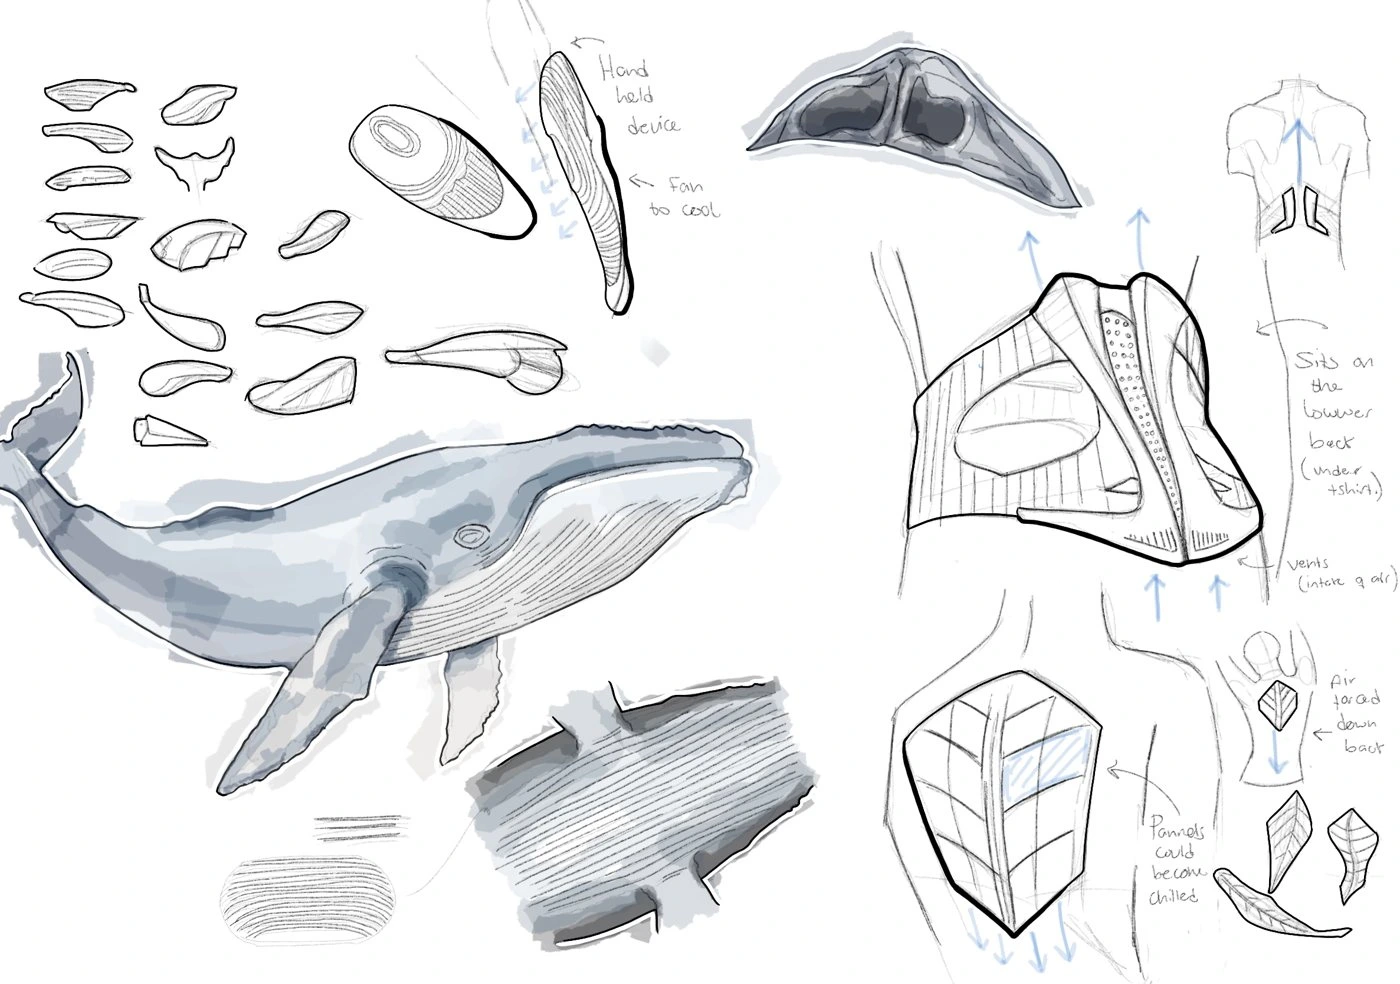
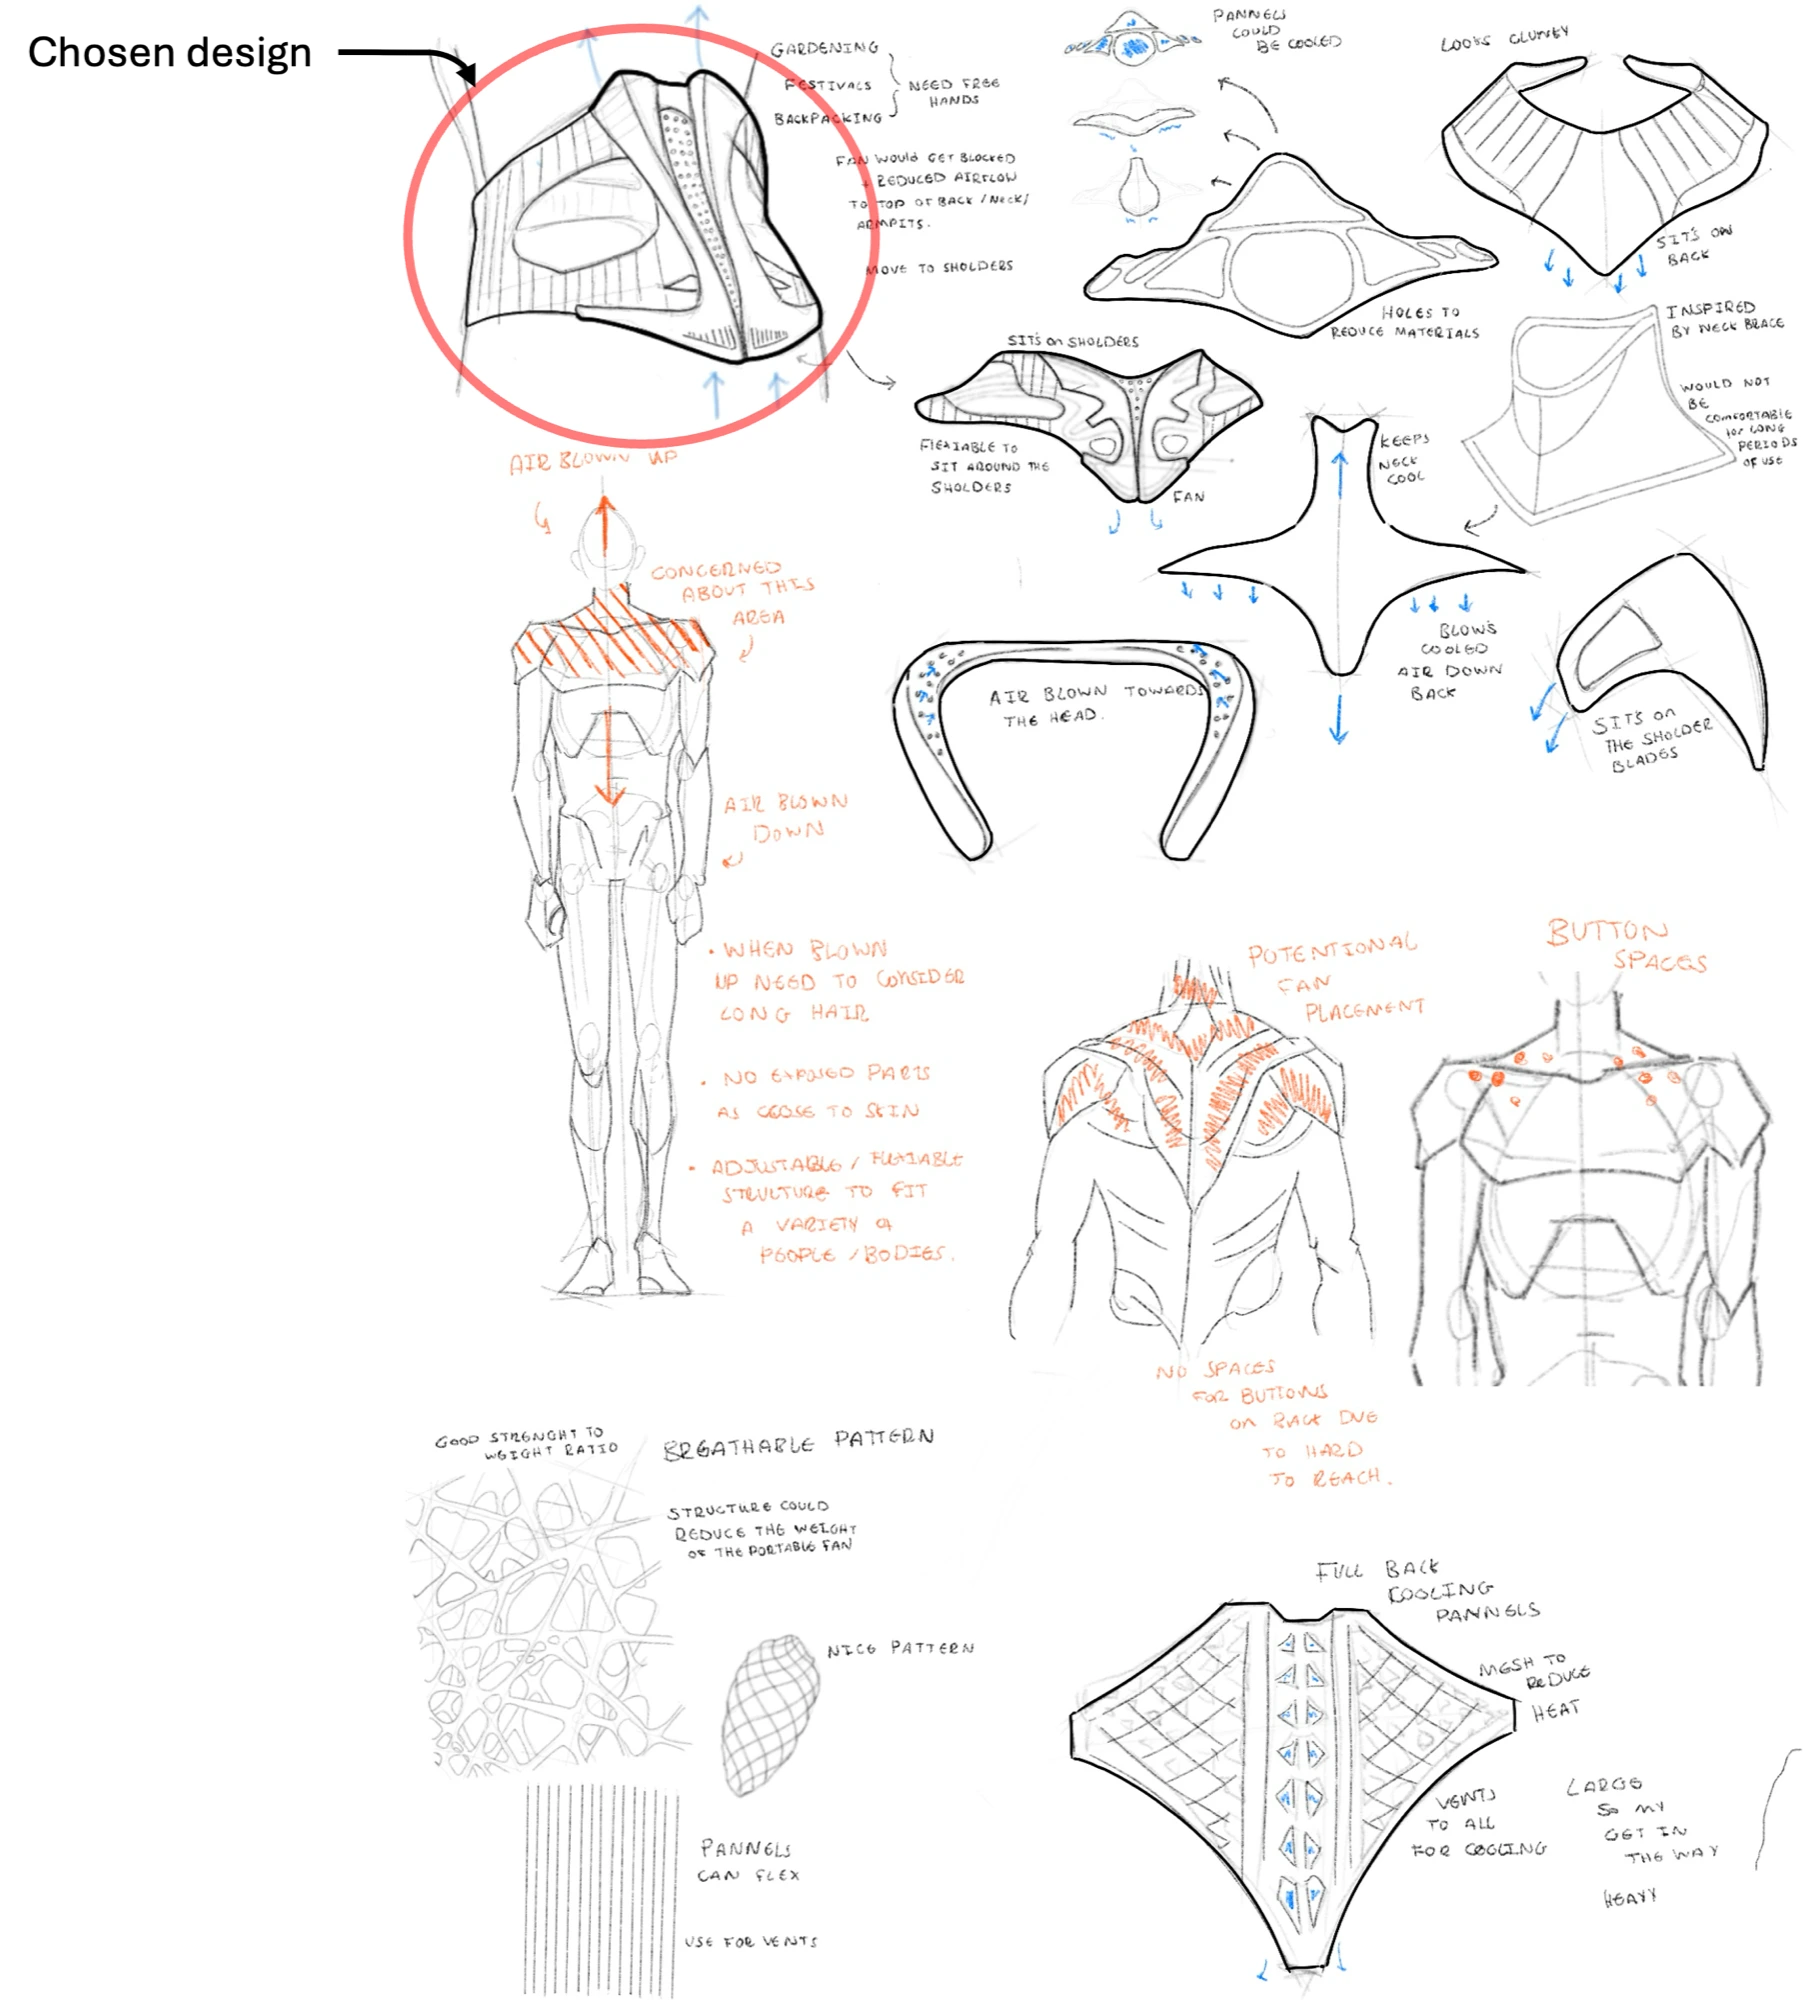
I developed the chosen design against a hierarchy of needs, then user tested each round before resolving the final form.
Hierarchy of Needs: Before drawing anything further I set out what the product actually had to achieve, and made a list to judge every idea against.
Airflow — deliver effective cooling to the body.
Wearability — worn, not held, so hands stay free.
Comfort — no discomfort over prolonged use.
Safety — safe to wear during movement or exercise.
Accessibility — controls within easy reach.
Adaptability — works walking, sitting or resting.
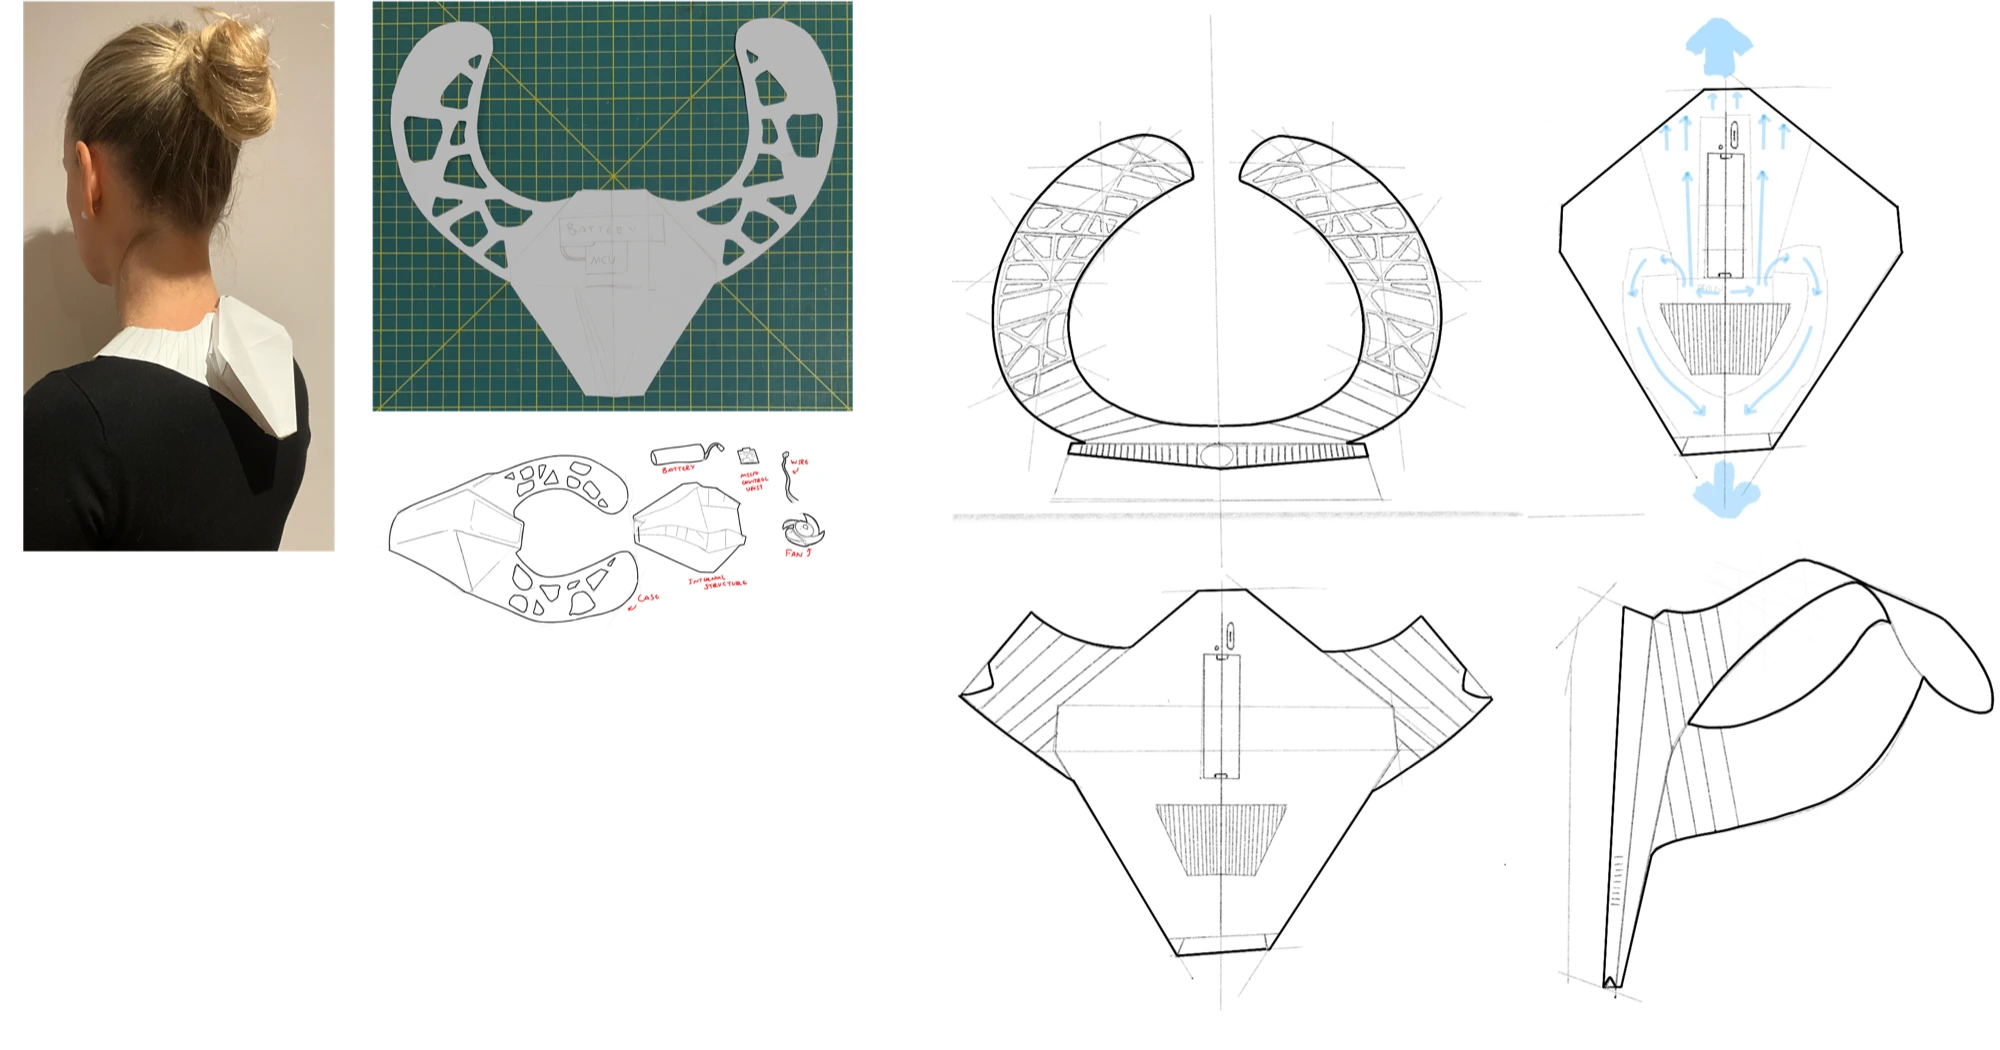
After setting the needs, I decided the product had to be easily portable: worn, not held, so hands stay free while you walk or run. I took the strongest sketch forward and mapped it onto the body, sketching quickly to identify where each part could sit.
Further development of chosen concepts
User testing & feedback
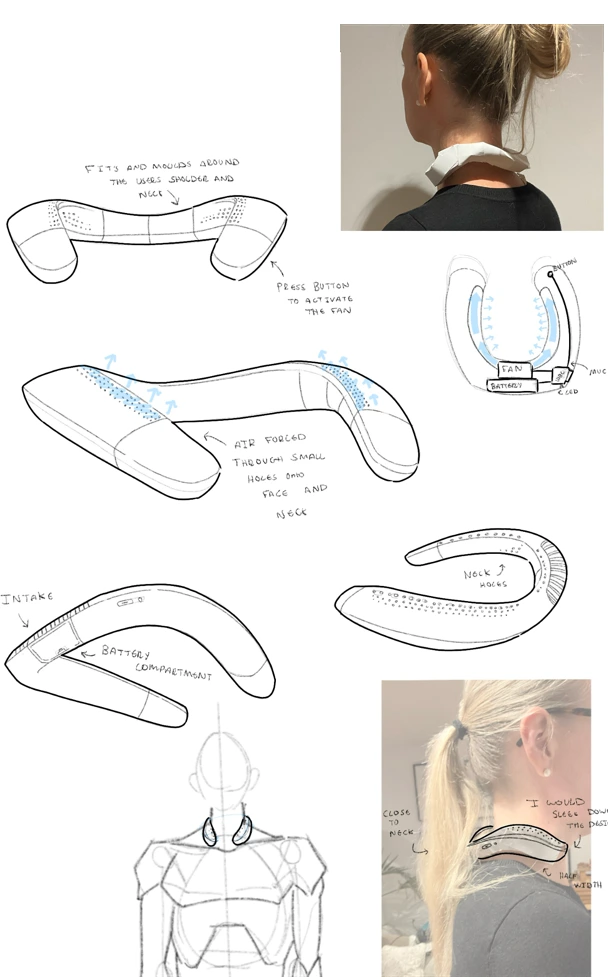
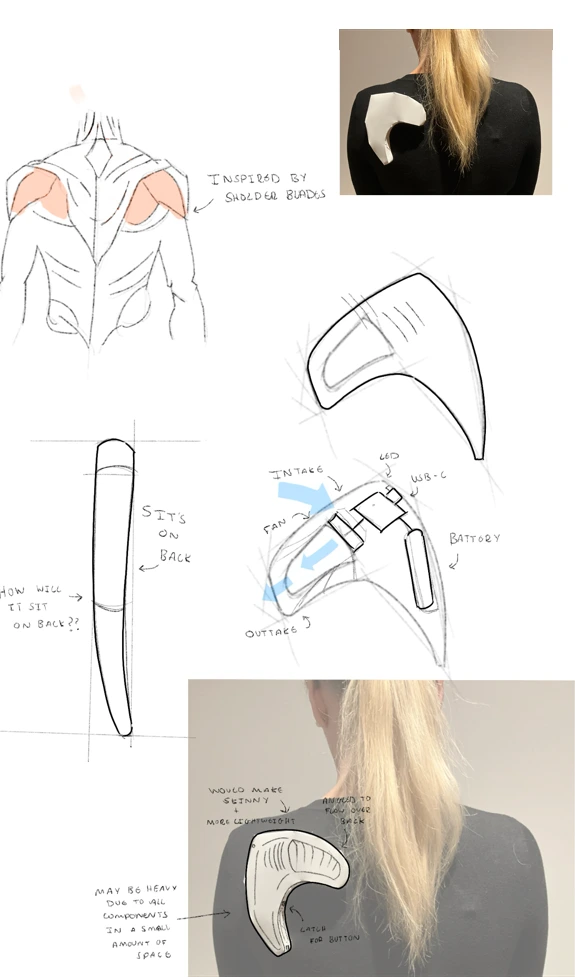
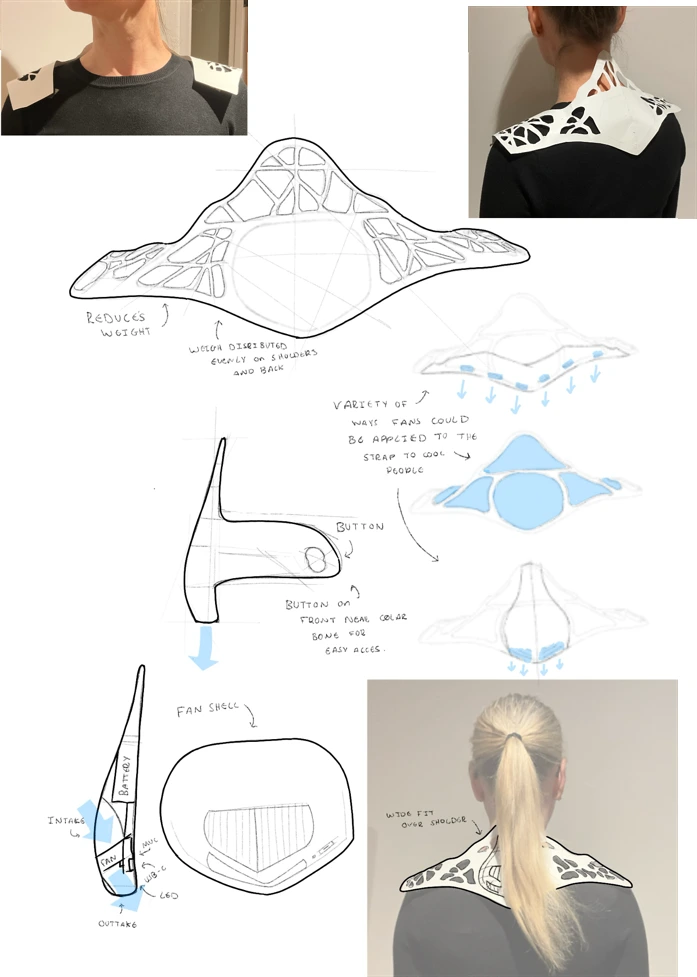
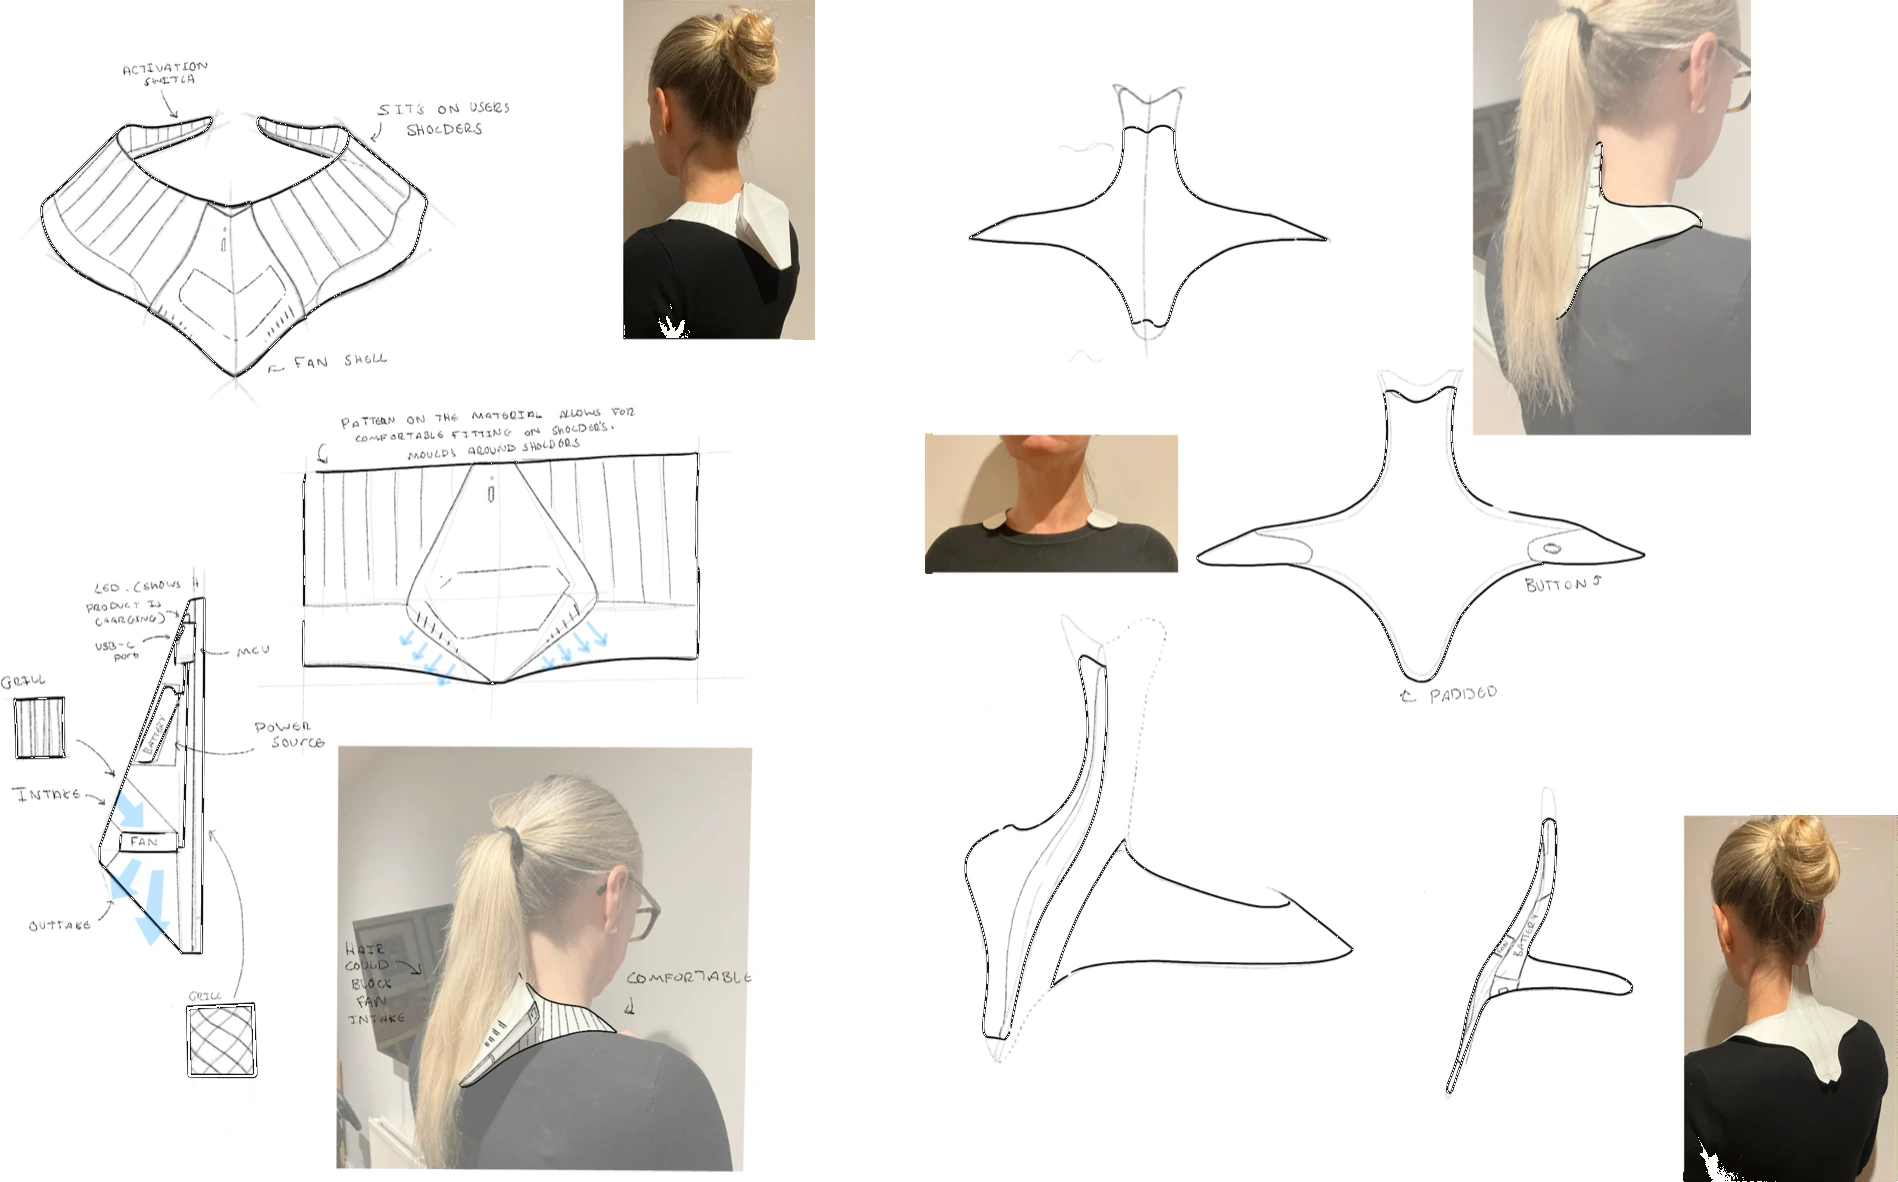
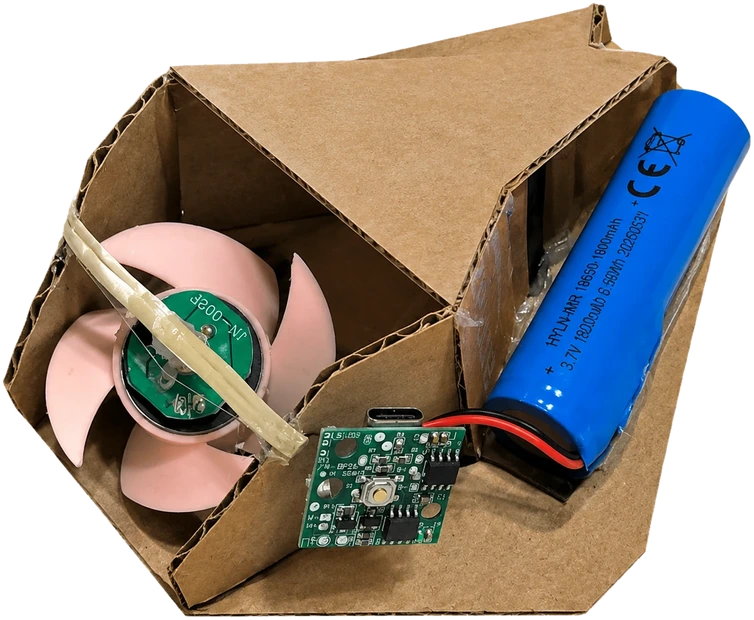
I developed each design further to understand how it would function: where the components would sit inside the shell, and how air would move across the body.
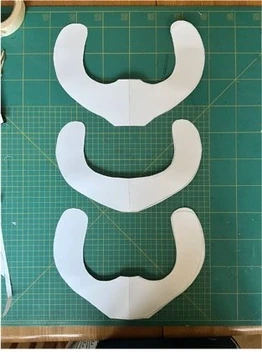
Each version was then prototyped in card and worn, so fit and weight could be judged on a real user.
Worn, the problems showed quickly. 01 and 02 sat too close to the neck, 03 loaded one shoulder, and 05 caught on hair. The wider, flatter forms were the most comfortable.
Why I chose 04
- Weight spread across both shoulder blades
- Sits clear of the neck and hair
- Control within easy reach at the front
- Arms and back left free to move
- The only one to meet every need
Final design
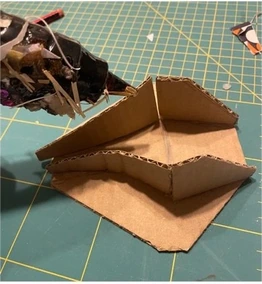
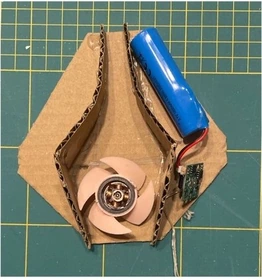
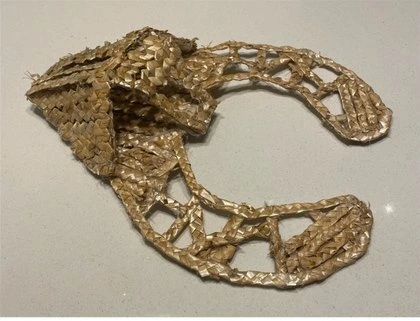
Prototype product
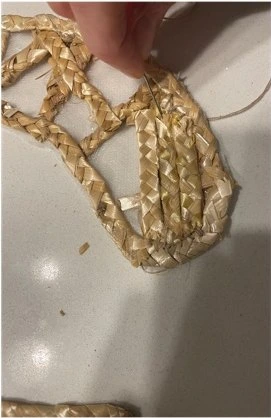
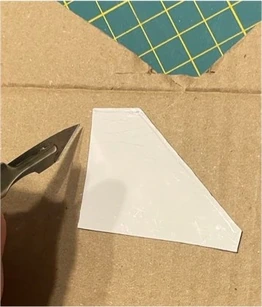
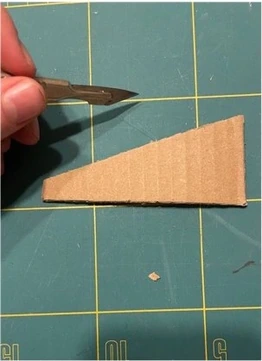
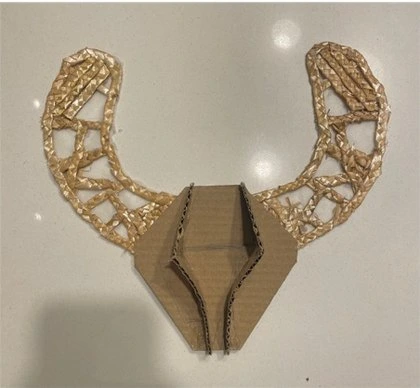
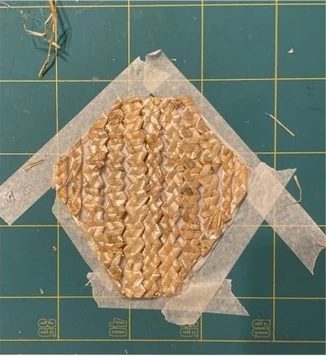
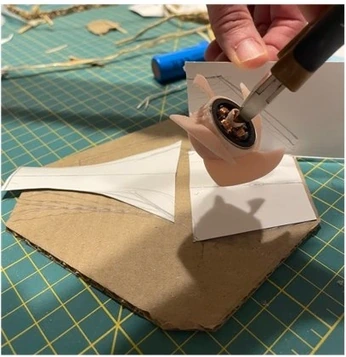
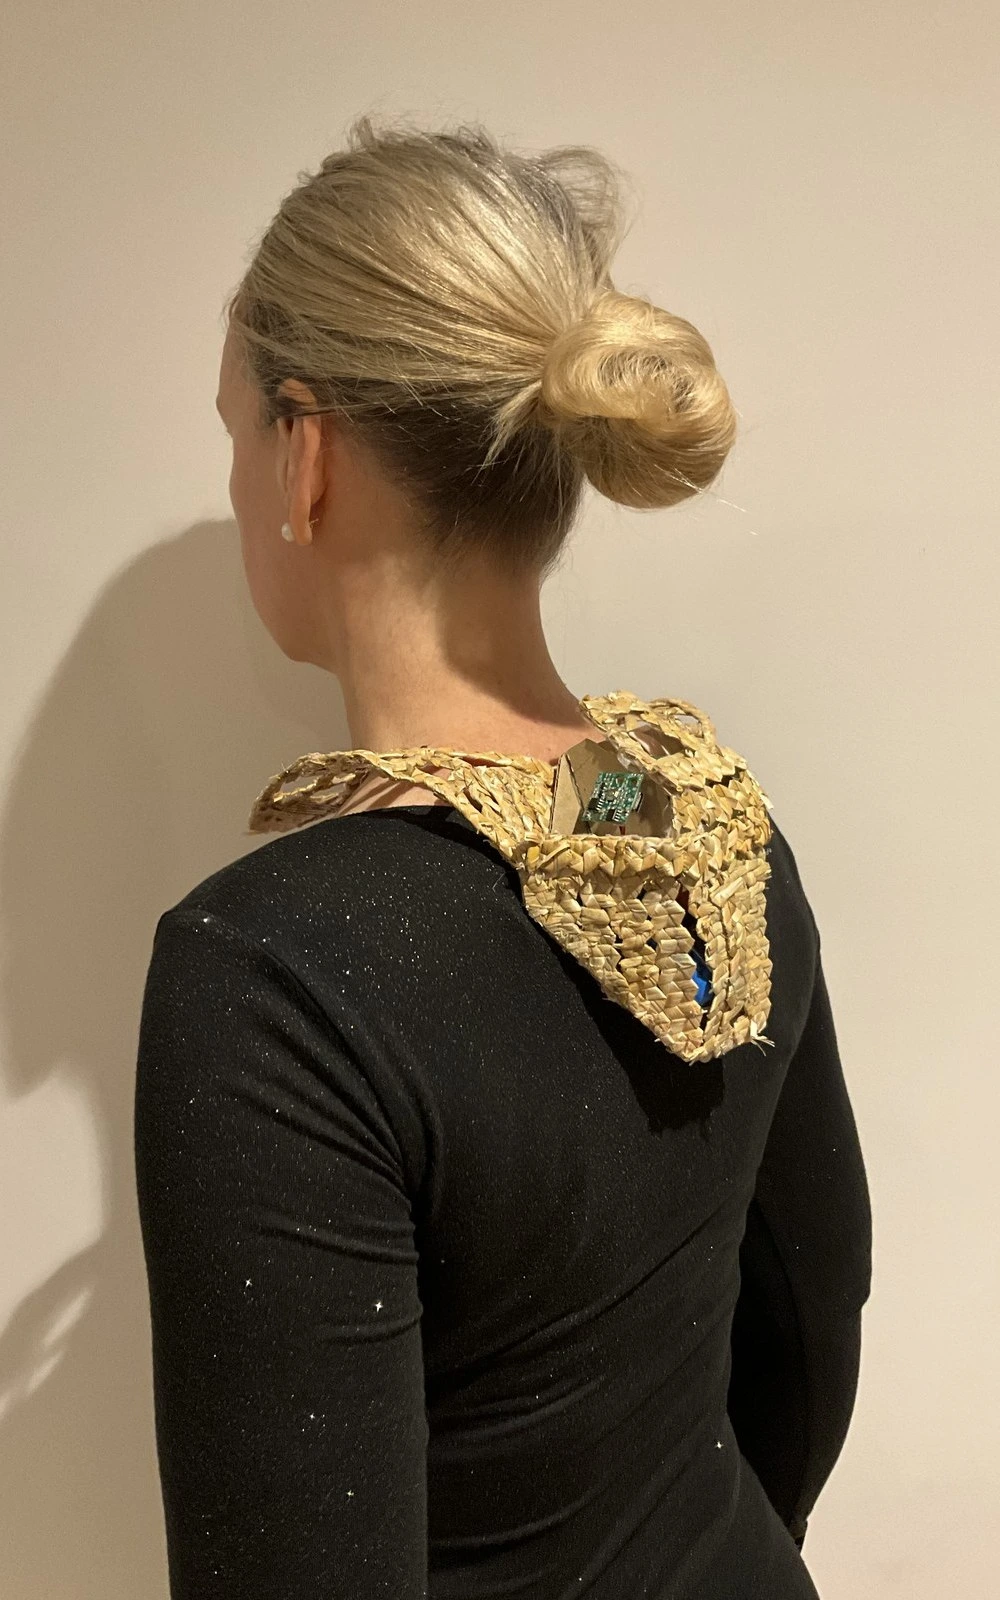
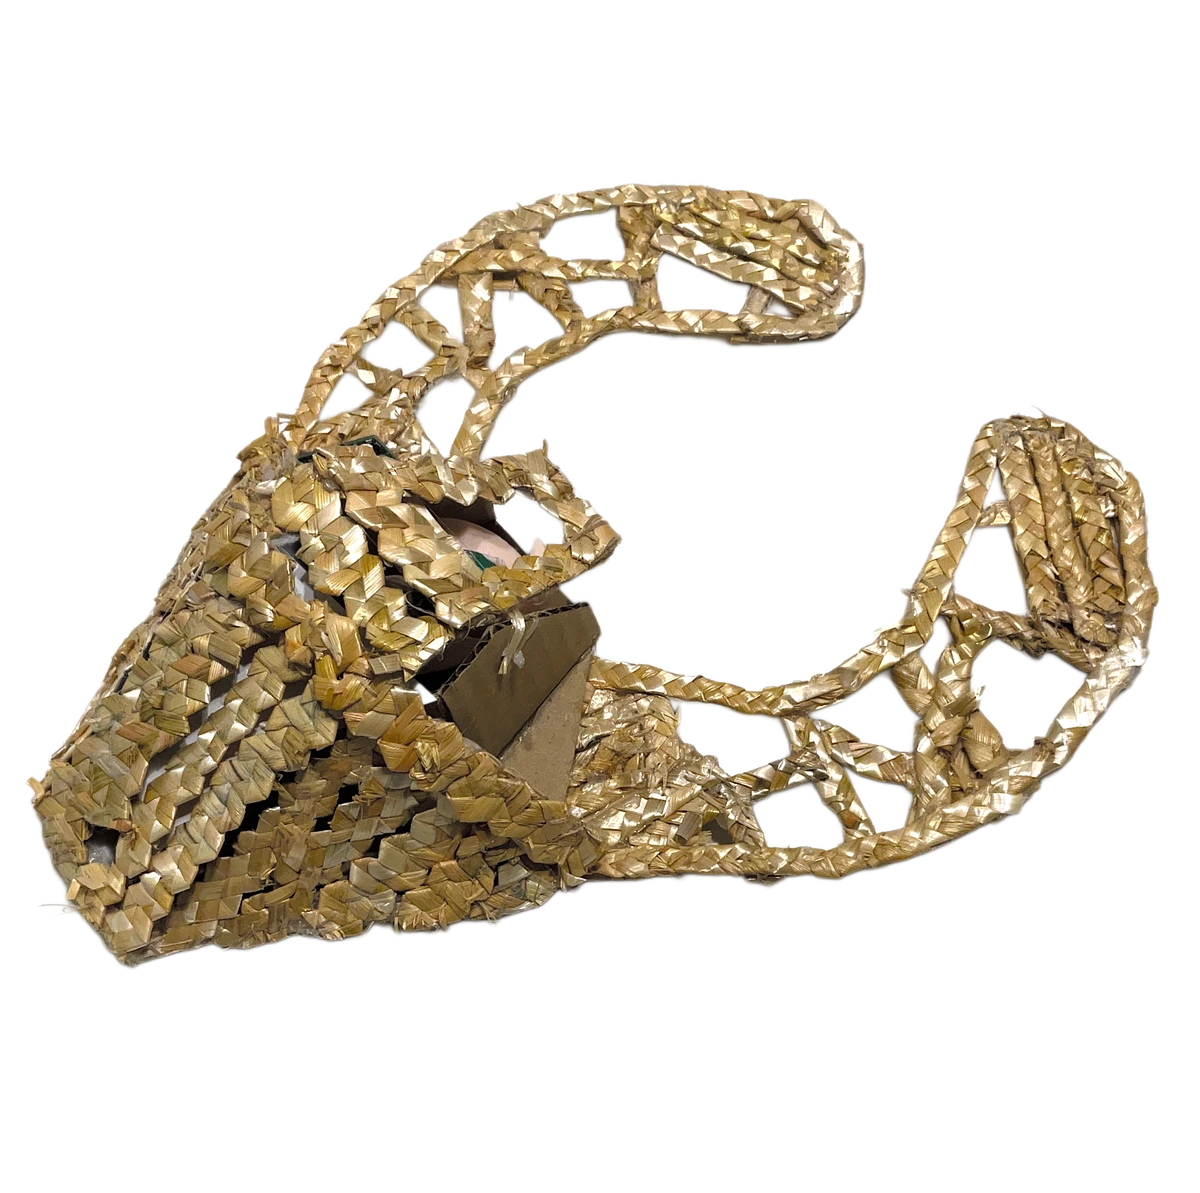
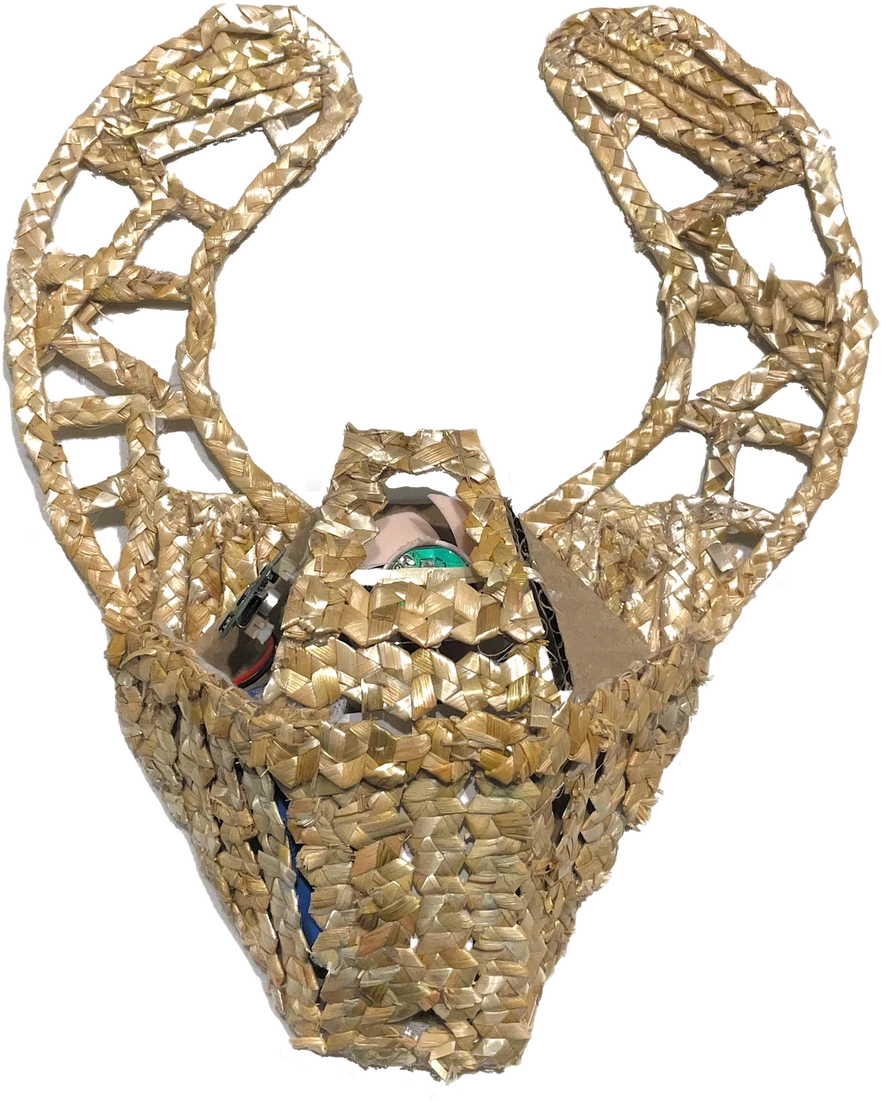
I built the outer structure by hand, then assembled the components inside it.
07 — Realisation
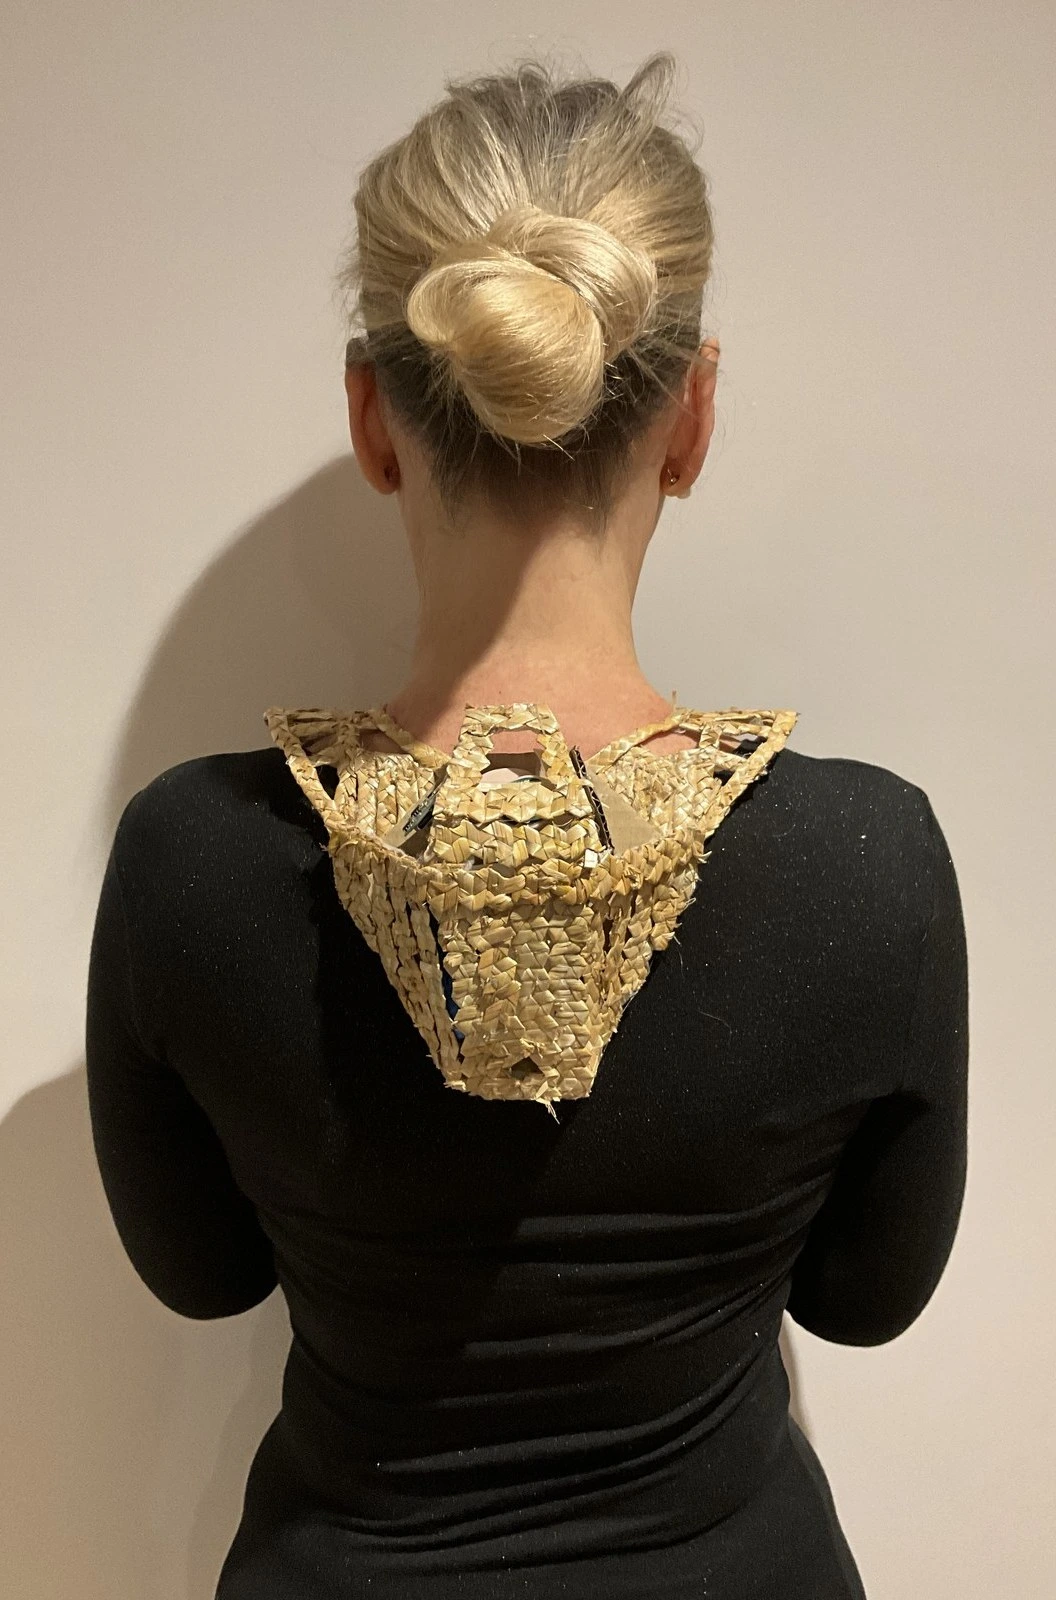
The final model
08 — Global Systems
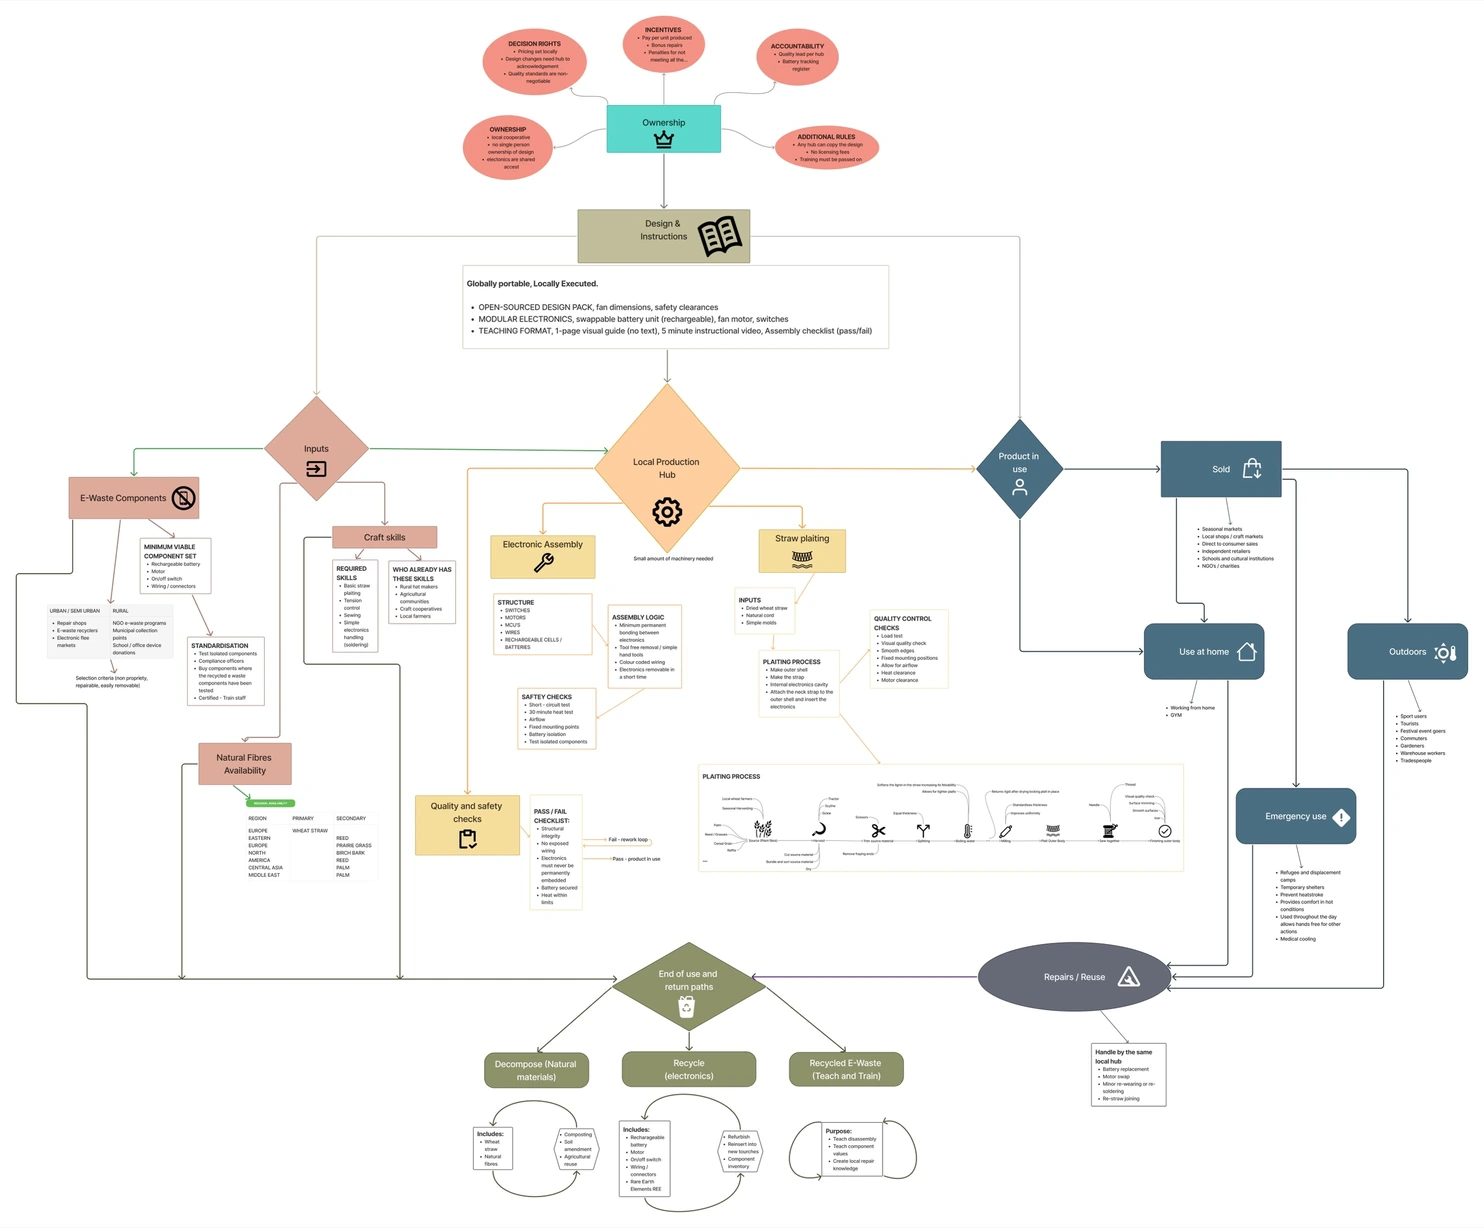
A product anyone can make, anywhere
Ventra is designed to be made, not bought. The system below maps how it is owned, built, used and recovered.
Ownership
Local cooperatives. No single owner, no licensing fees.
Design pack
Open-sourced dimensions, modular electronics, a visual build guide.
Inputs
Reclaimed e-waste, and whatever fibre grows nearby.
Skills
Plaiting, sewing and simple soldering — skills hubs already have.
Quality
Every unit passes a circuit, heat and structural check.
Use
Markets and NGOs. Home, outdoors, and emergency cooling.
End of life
Straw composts. Electronics are recovered. E-waste teaches repair.
09 — Digital Product Passport
Branding
Colour
Typeface

The logo
A single ear of straw. It credits the plaiters this craft comes from, and the material itself — one plant, cut and plaited by hand, doing the work of a whole product.
Colours
Inspired by the straw itself — the tan of the stalk and the pale cream of the chaff.
The wordmark
An older-looking serif with a modern twist — traditional high-contrast letterforms, drawn with cleaner, sharper curves. The same mix as the product: an old craft carried into something modern.
Physical Product Passport
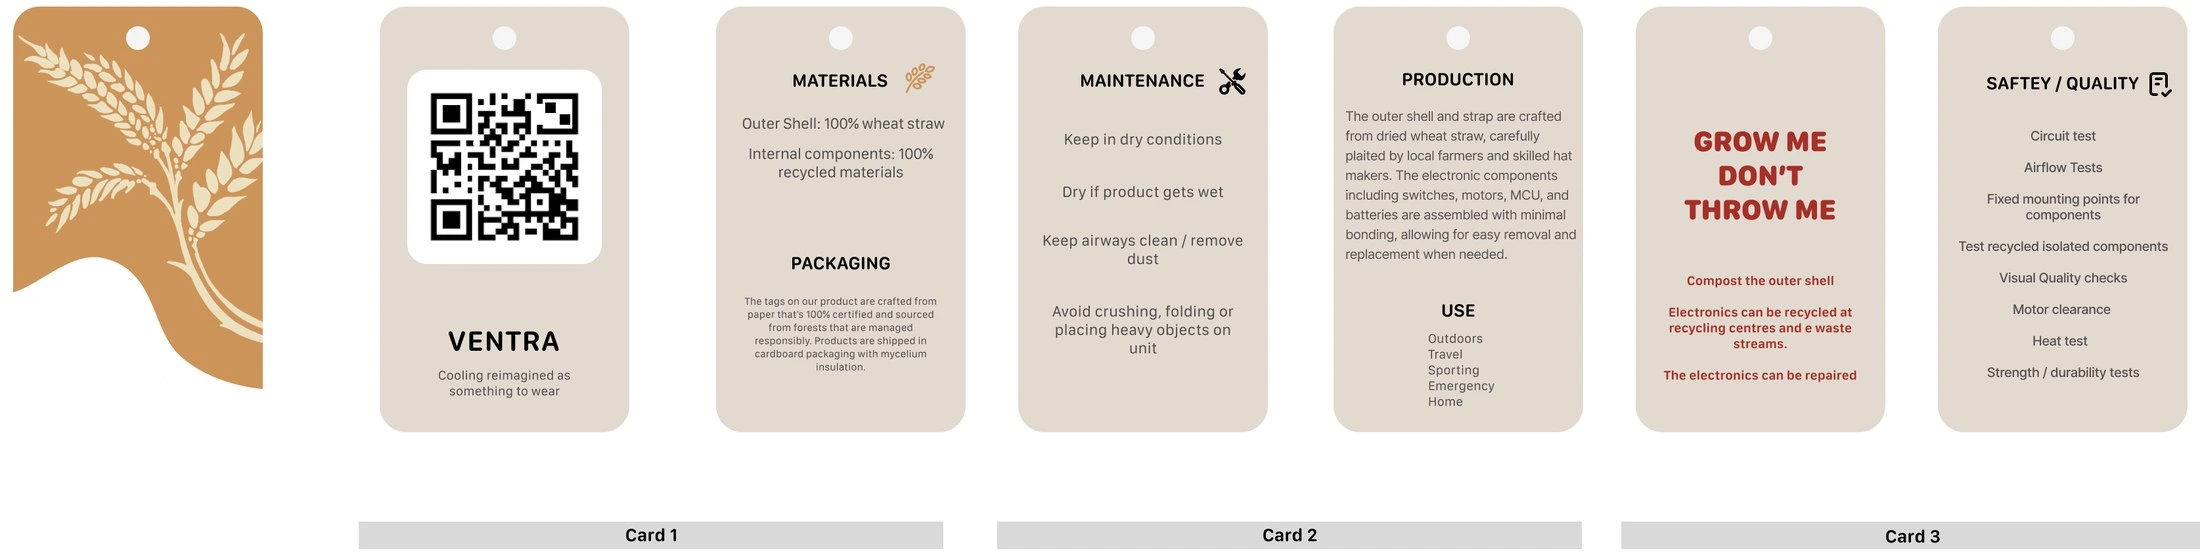
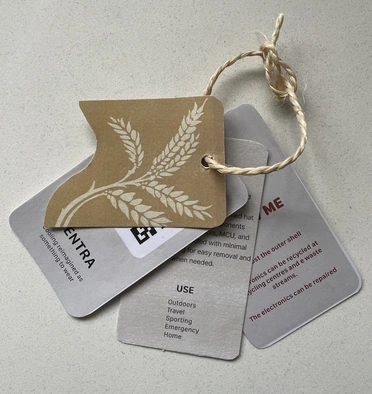
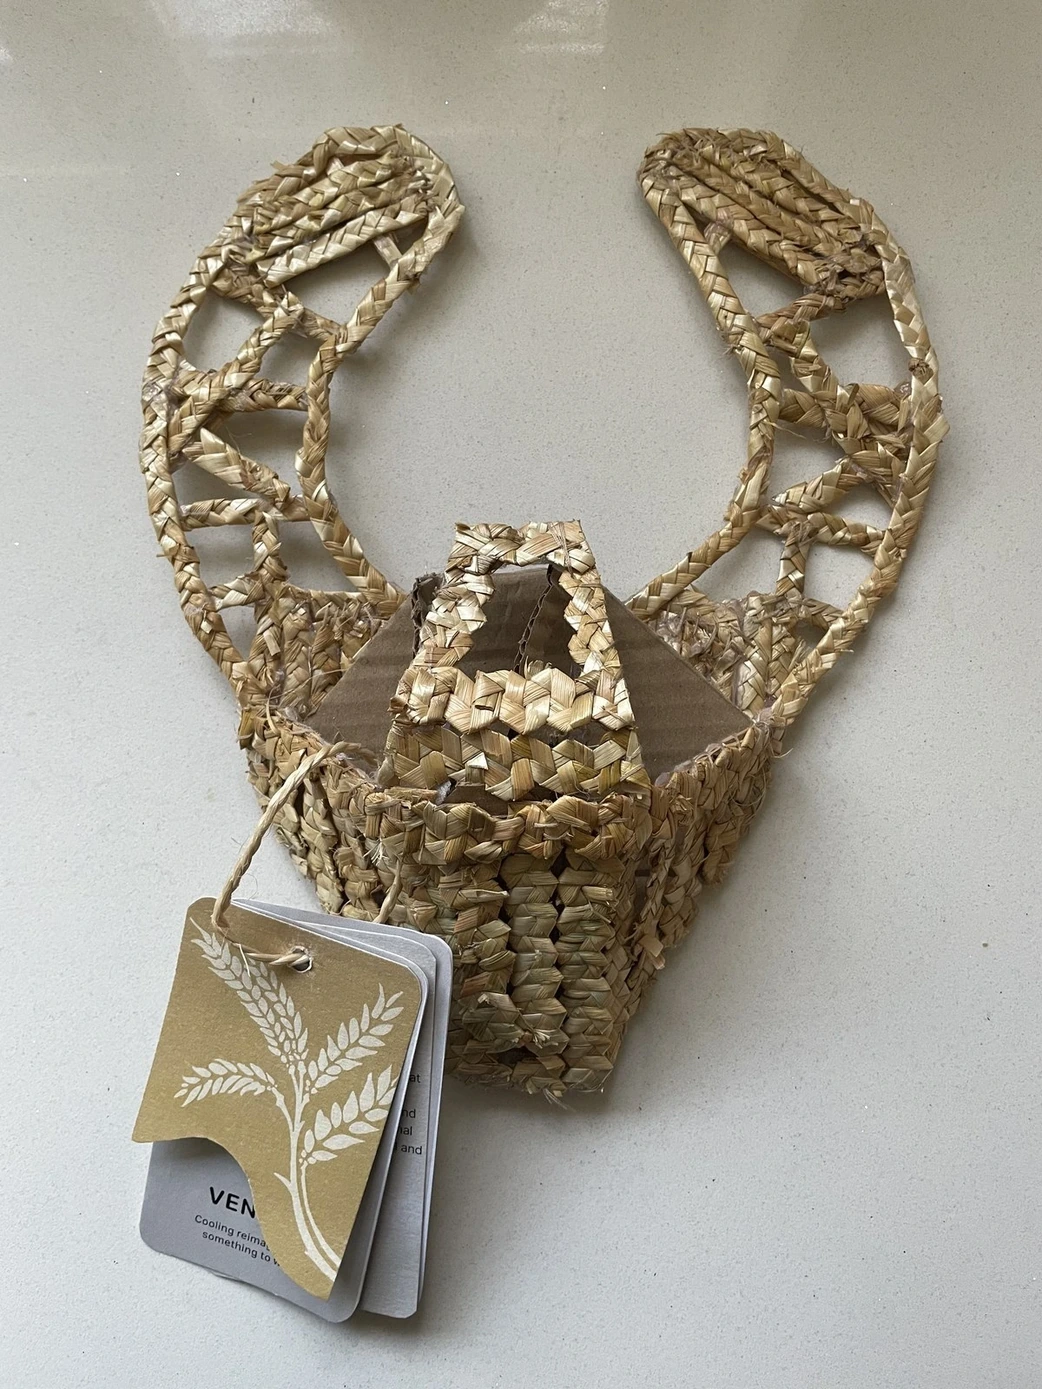
A tag you can hold: Printed on recycled card and tied with jute string, three folded cards carry materials, packaging, maintenance, production, use, disposal and safety. It works with no phone, no signal and no app — the repair instructions stay tied to the product for as long as it lasts.
Digital Product Passport
DPP · Concept to prototype
A Digital Product Passport is a record that travels with a product for its whole life, covering every stage of its lifecycle: sourcing, manufacture, transport, use, repair and disposal. The EU is making them mandatory for a growing list of product categories under its Ecodesign for Sustainable Products Regulation.
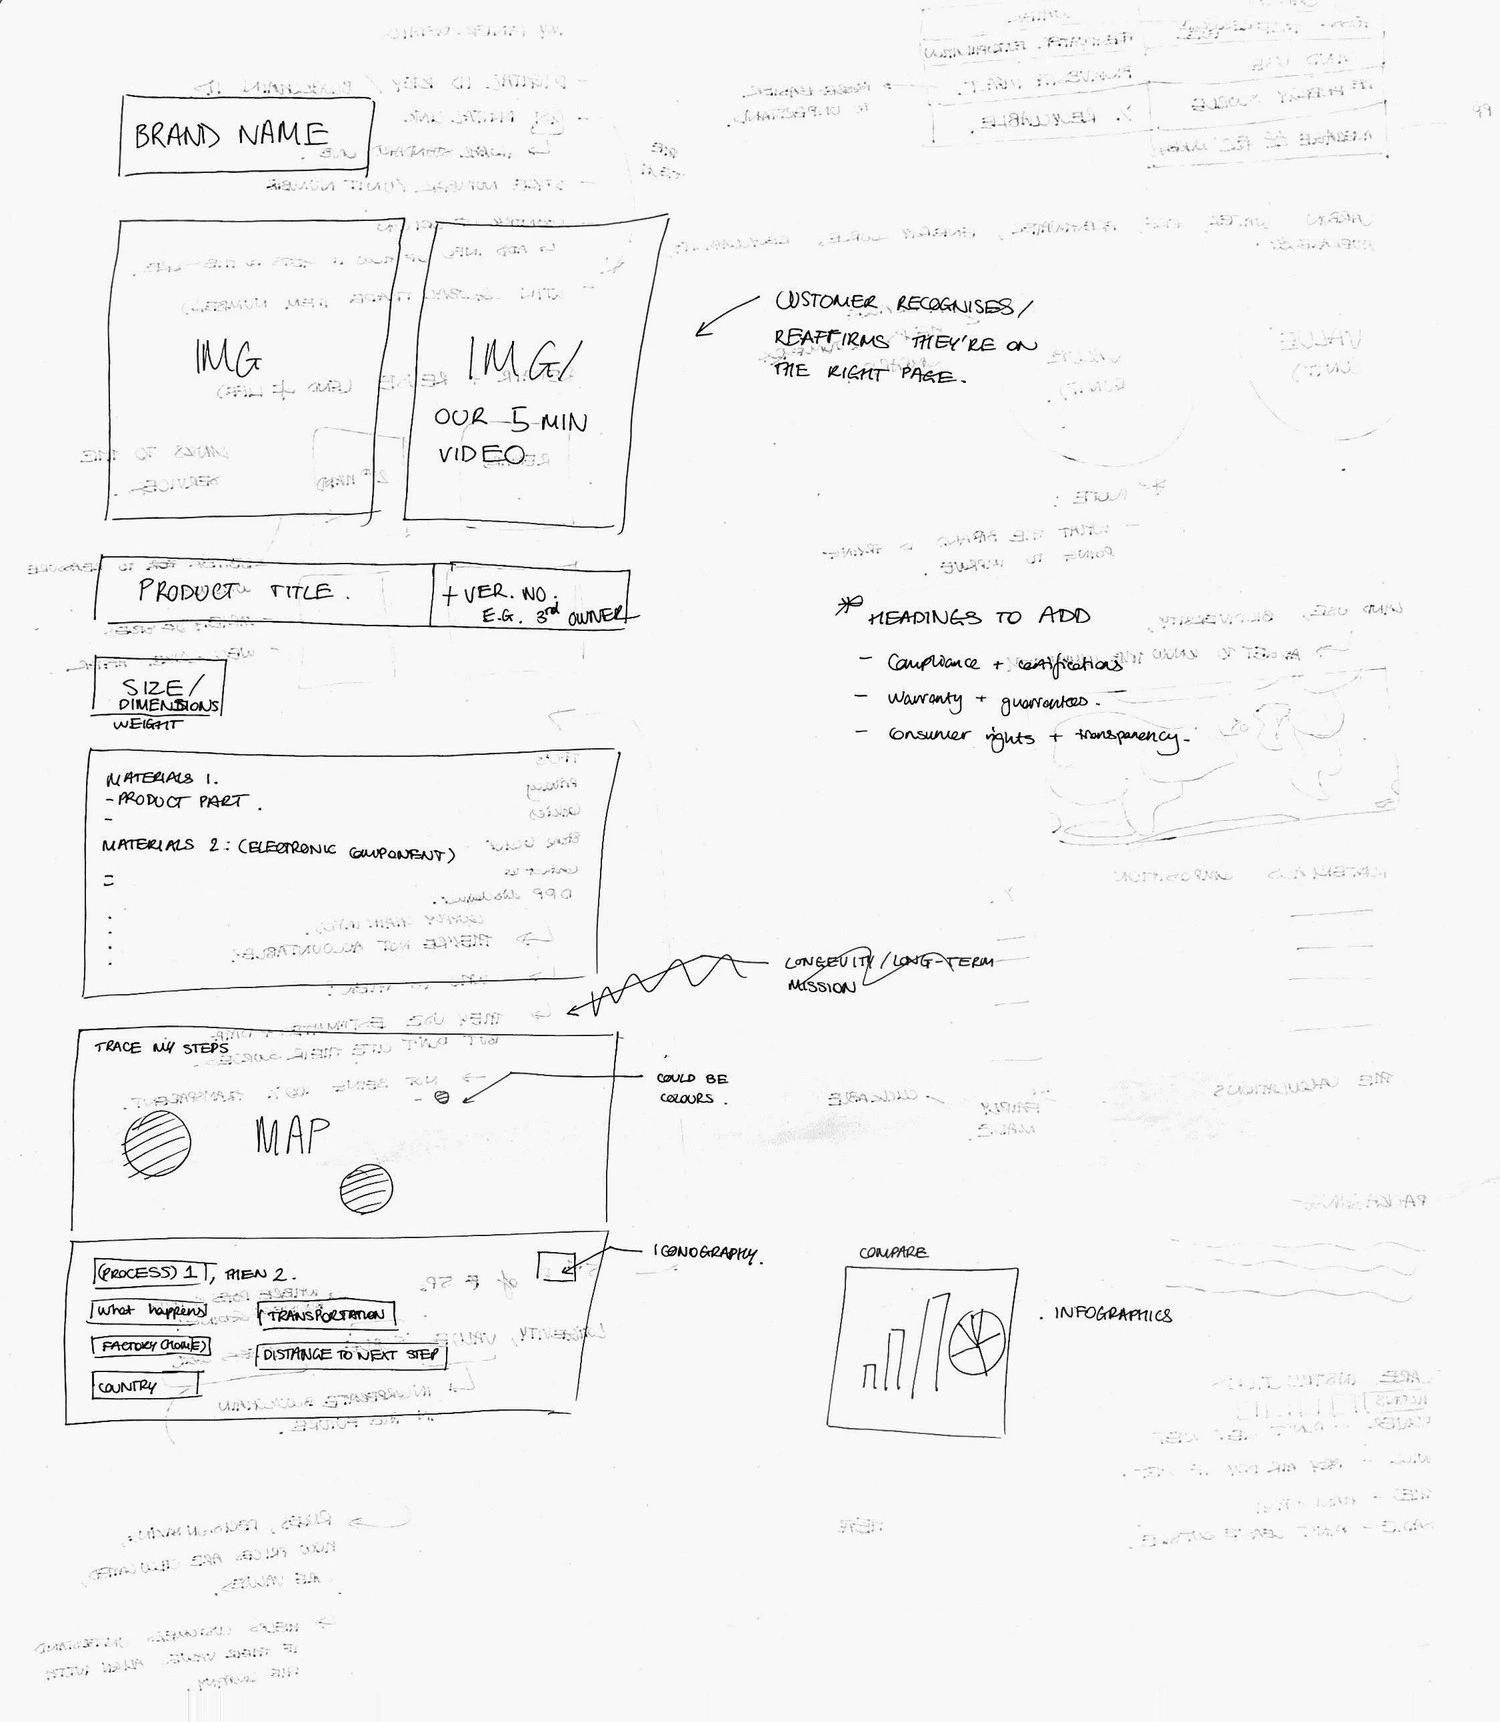
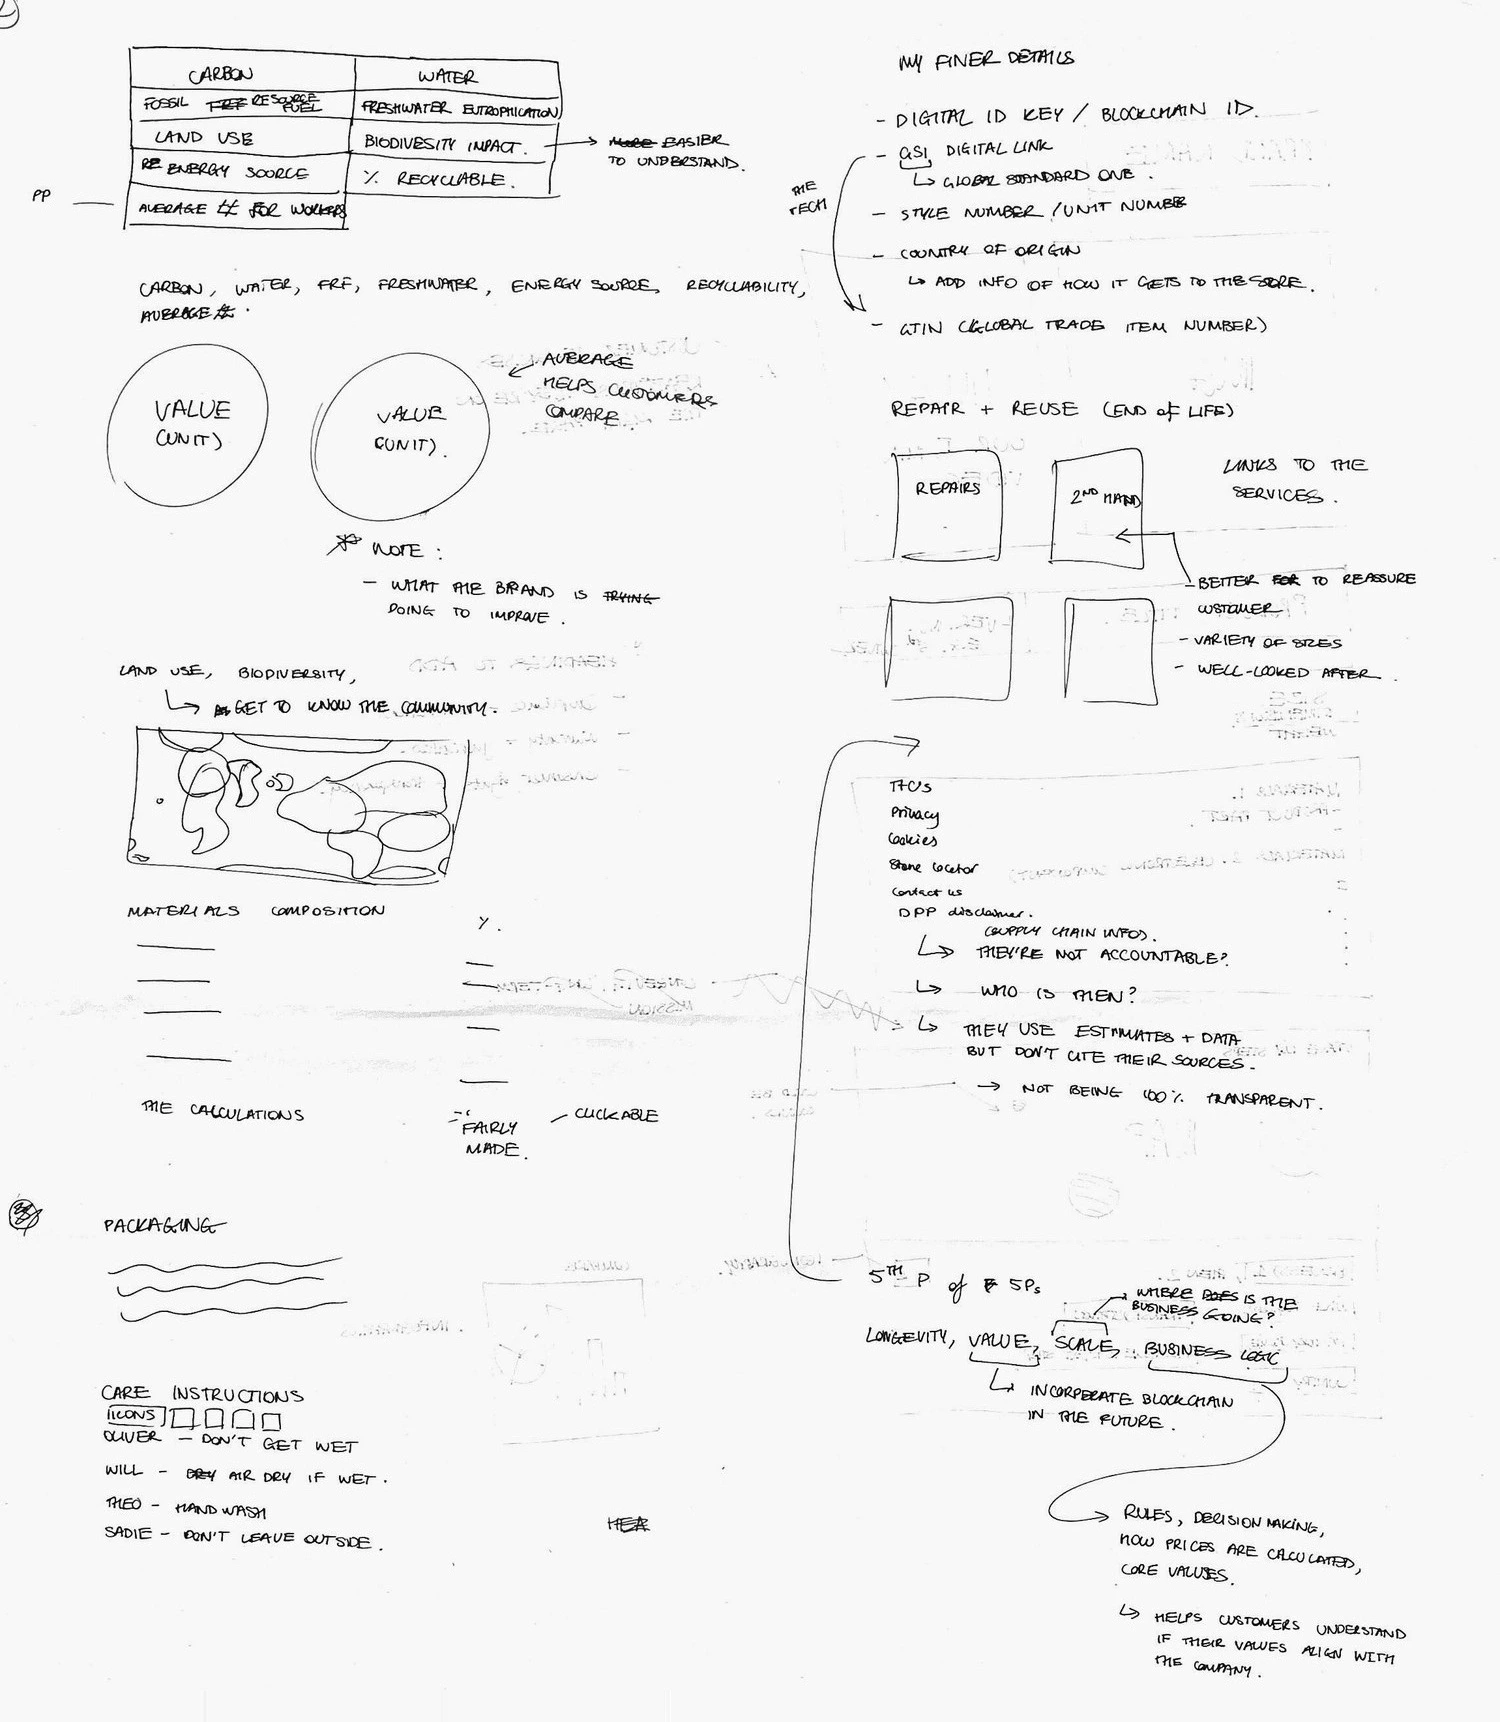
01 — Low-fidelity wireframes
Working alongside other students, and from a lecture on what the regulation actually asks a passport to carry, we listed the necessary fields first — identifiers, materials, footprint, repair and end of life — then drew the page around them.
02 — Further development & high-fidelity screens
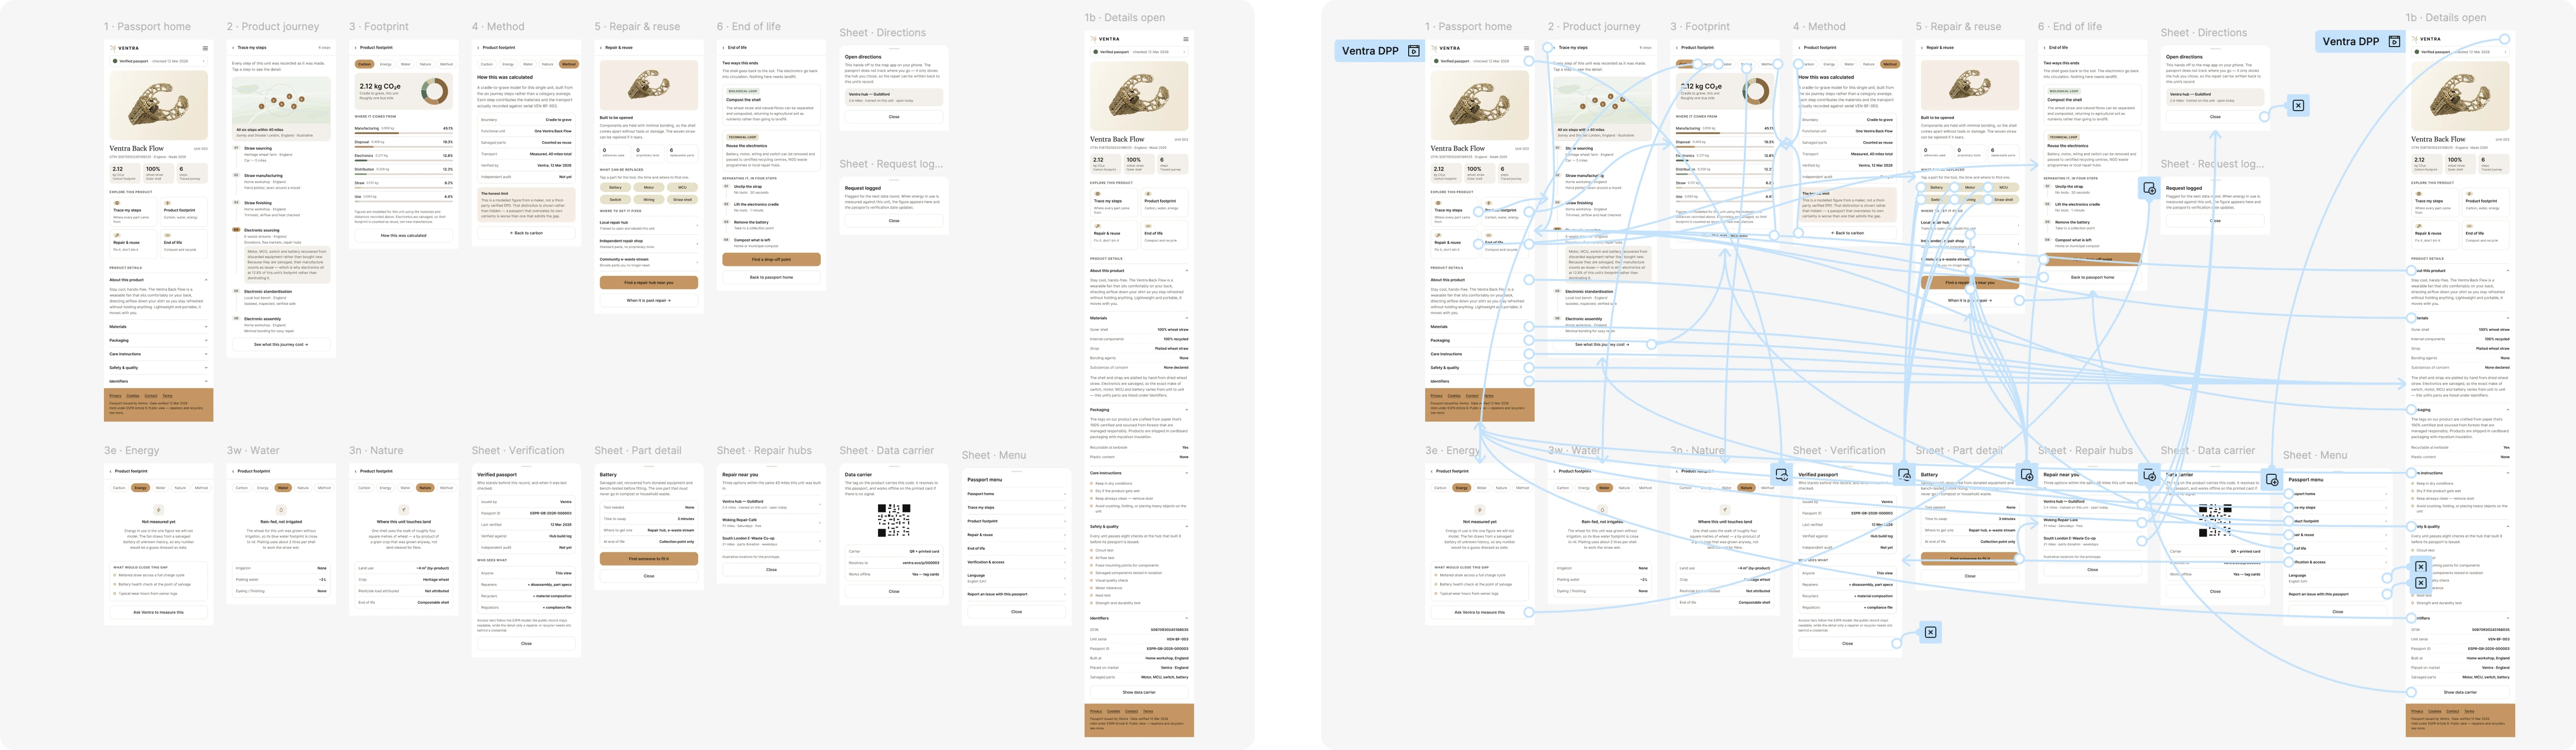
03 — Interactive prototype
04 — The key screens
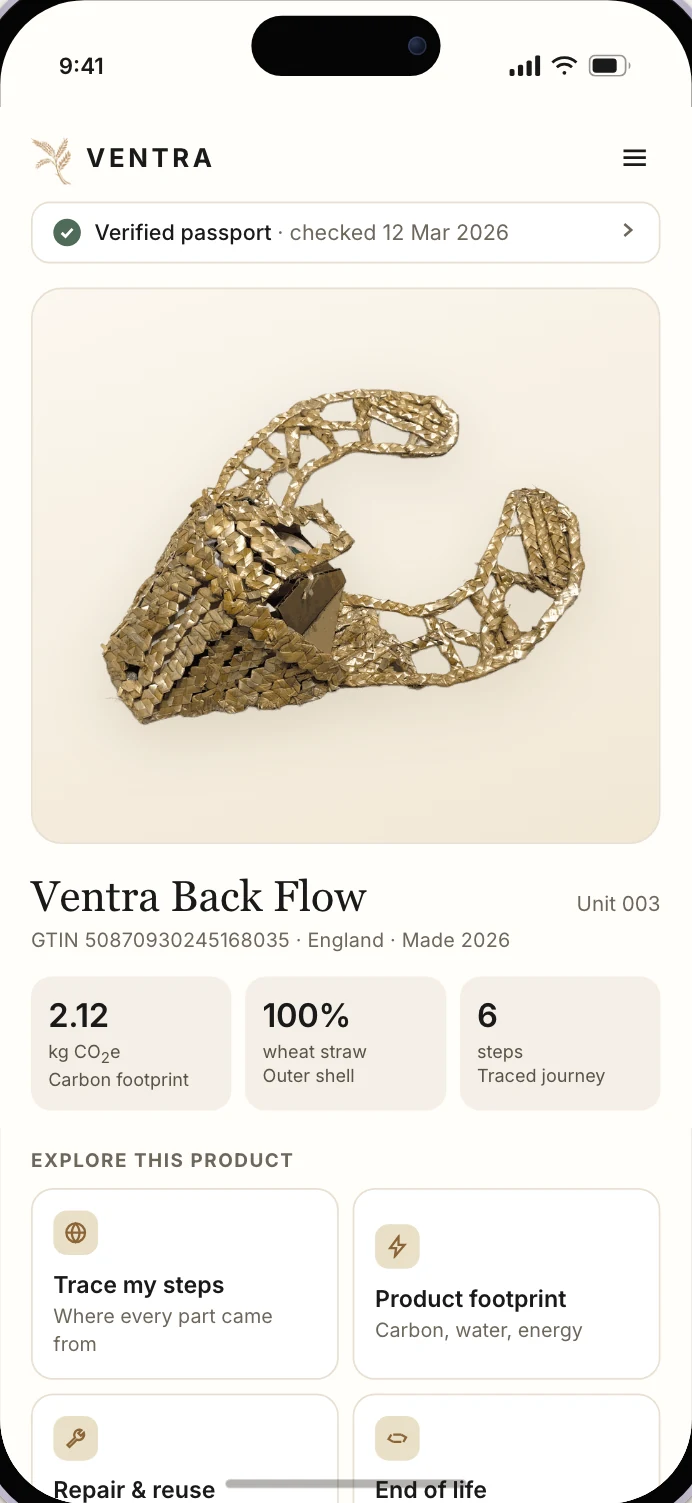
The passport
Every unit carries its own record
- Identifies the exact item, not the product line
- Shows who issued the record and when it was last verified
- Surfaces the headline figures up front
- Routes into every deeper screen
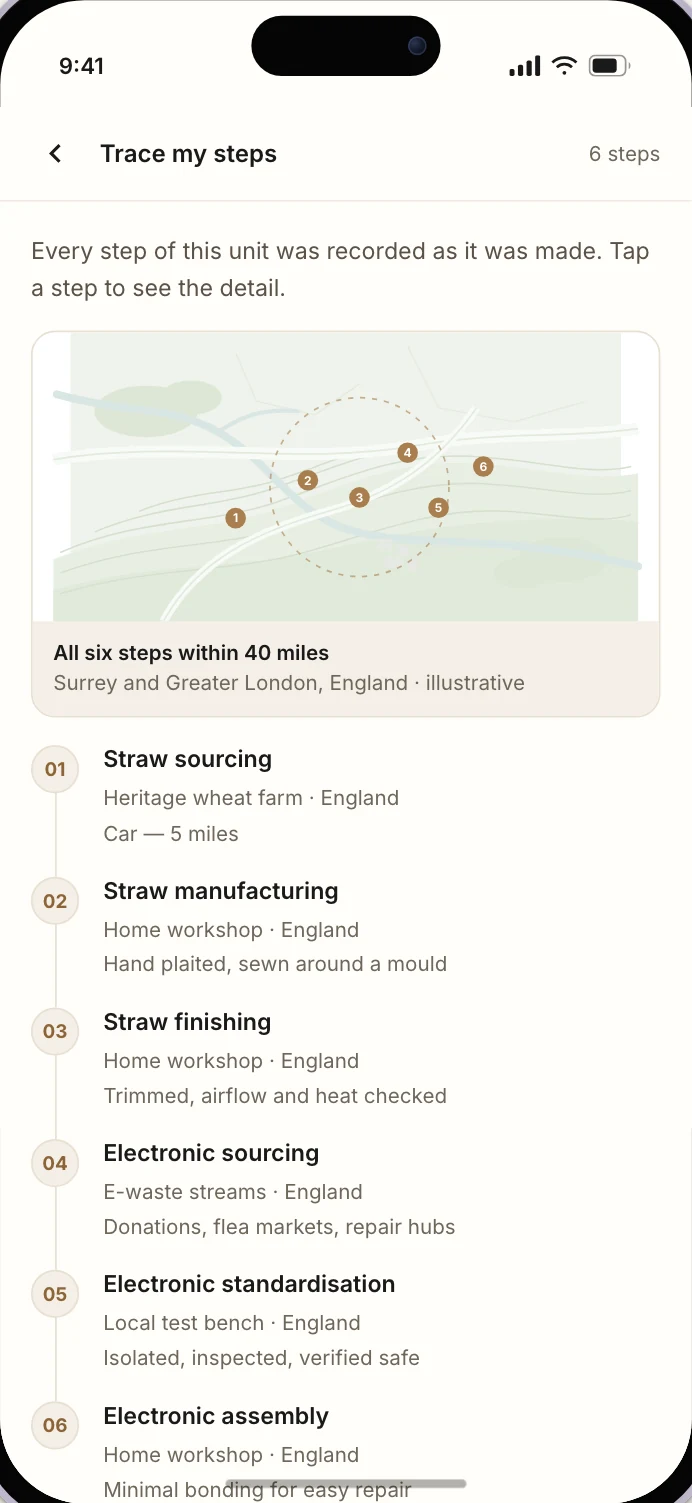
The journey
Every part, back to where it came from
- Maps every step the product took to exist
- Names who did the work at each stage
- Records transport mode and distance between steps
- Traces each material and component to its source
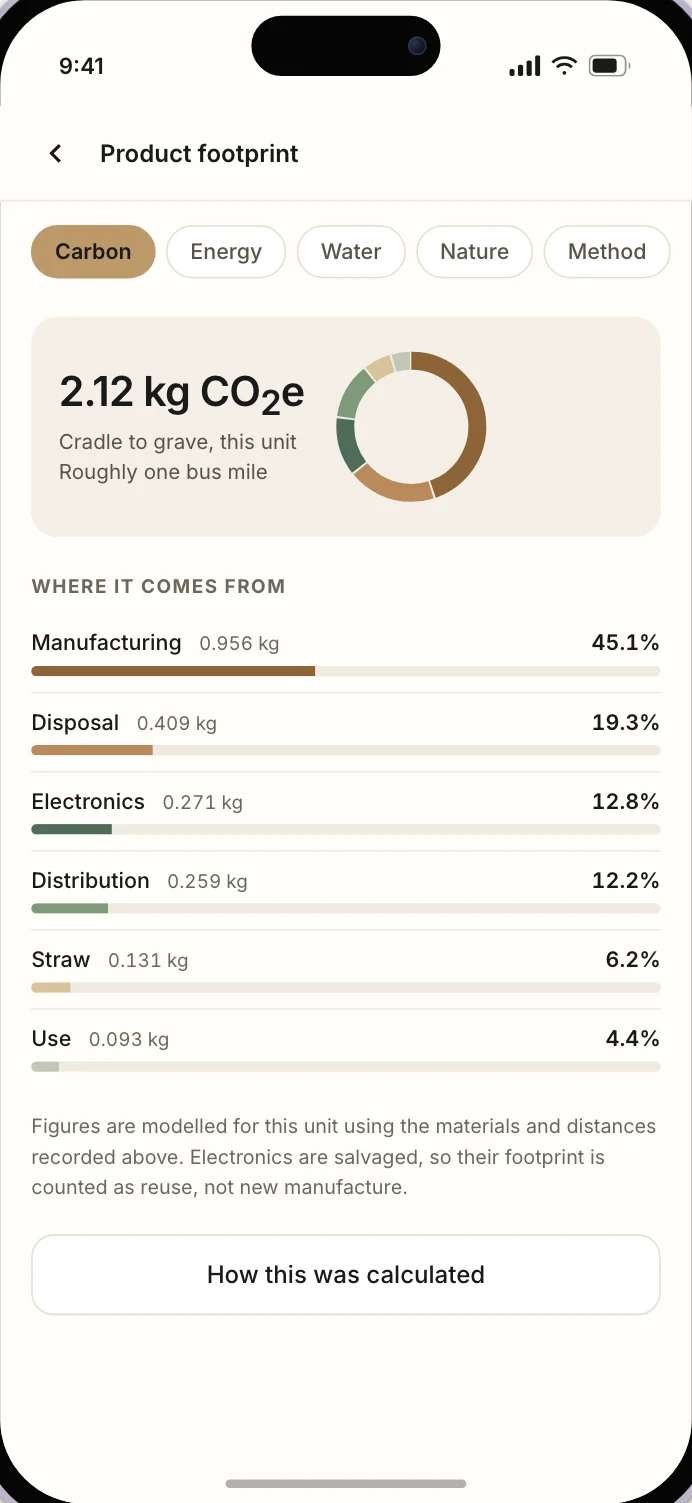
The footprint
Numbers you can actually check
- Breaks the environmental cost down by lifecycle stage
- Separates carbon, energy, water and nature
- Gives absolute values, not just percentages
- States where data is missing rather than estimating it
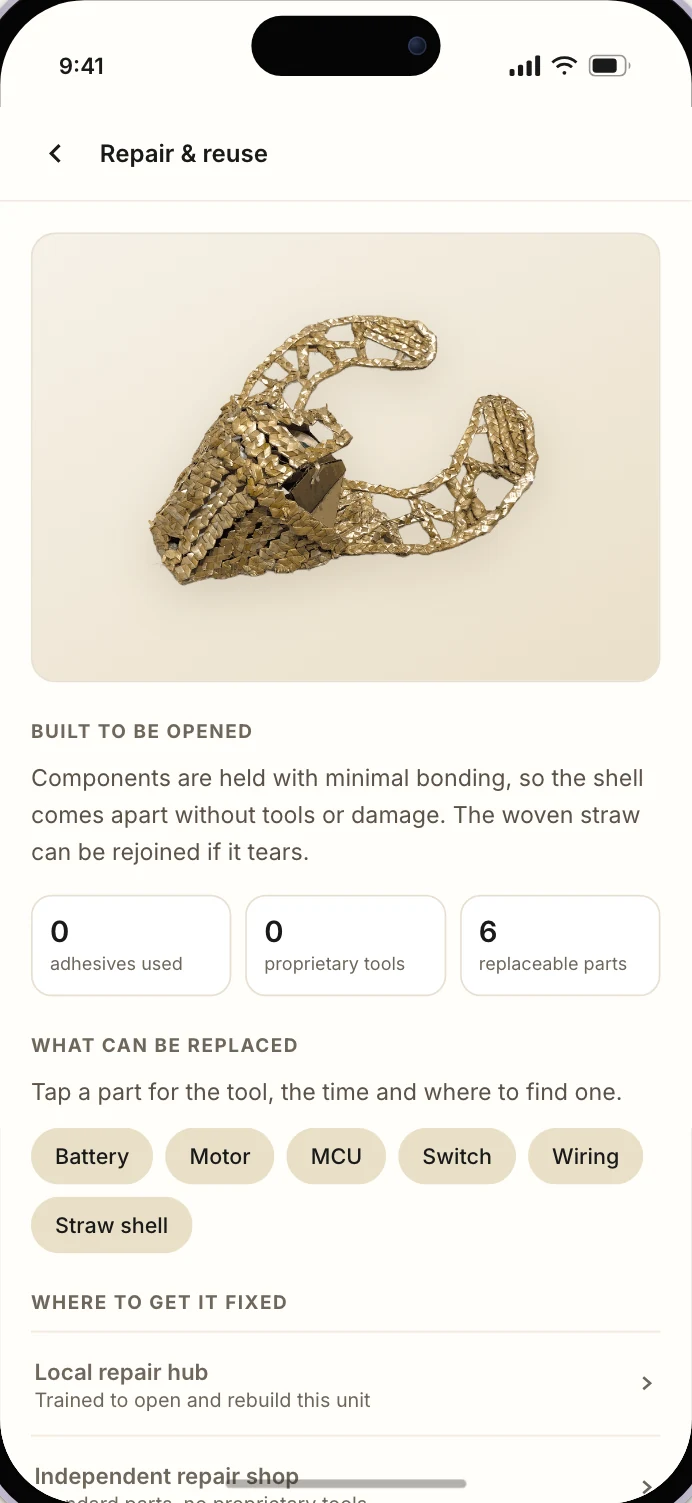
Repair & reuse
Built to be opened
- Lists which parts can be replaced
- Names the tool and the time each repair takes
- Says where to source a replacement part
- Explains how the product comes apart
10 — Reflection
Business goal
- Ventra is not built in one factory and shipped out. Because the shell is plaited rather than moulded there is no tooling to reproduce, so the goal is adoption rather than units sold: put the plait pattern and the component list into the hands of local production hubs, who build from the fibre growing nearest them and the broken fans already in their waste stream.
- The value sits in the system rather than the object. What the organisation actually runs is the verified hub network, the safety checks each hub is held to, and the digital product passport that proves where a given unit’s straw and salvaged parts came from, then routes it to repair and, at the end, back into the stream. That is a position an imported plastic fan cannot hold: Ventra does not compete on price, it competes on being locally made, repairable and traceable.
Reflection
- Learning the craft before designing with it changed what I could design. I only reached the lattice shell because making the boater taught me how a rustic 4 plait behaves under steam, and how much load it will carry before it distorts.
- Testing on the body, rather than on paper, is what moved the project. Cutting each version in card and wearing it killed the ideas that only worked flat: the neck collar sat too close to the skin, the single shoulder pod carried its weight in one place, and long hair fouled the intake.
- With more time I would test across a wider range of body types, and measure airflow and cooling properly instead of judging them by feel. The straw shell’s durability over months of wear is also still unproven, and that is the first thing I would want to answer before calling the design finished.